Scanning colour negatives
A brief guide to scanning colour negatives with a flatbed scanner
Scanning colour negatives
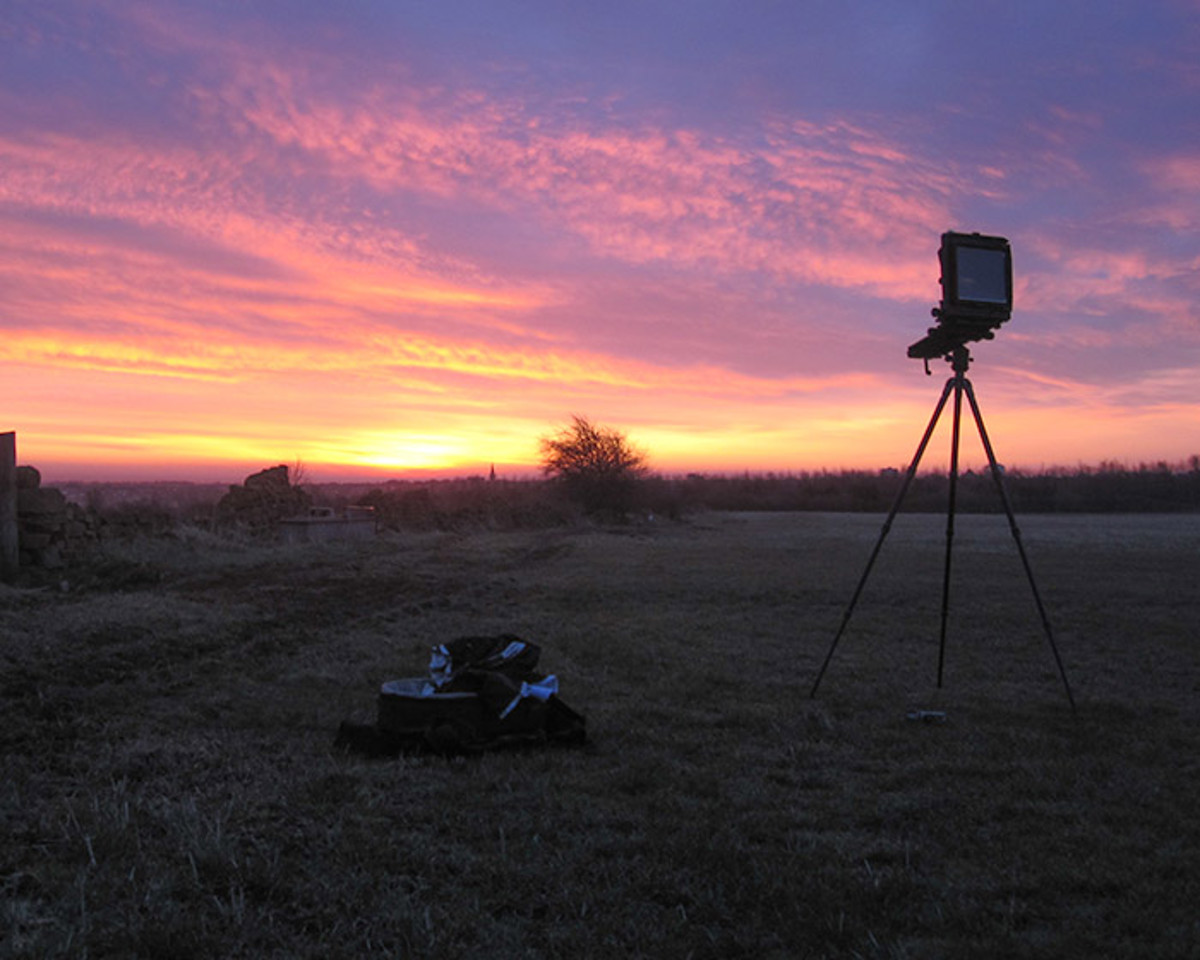
From the perspective of scanning colour negative film wouldn't it be great if every shot you took had a colour target in the frame which you could use to balance the colours? You can certainly do that if you really want to but generally it's rather impractical. However there is lots to learn from photographing and scanning a colour target.
I'm going to start this article with an example of exactly that. An Aztek Capture Accuracy Target photographed on Portra 160 in full sun at around midday and scanned on a Howtek 4500 drum scanner. The target was photographed from -10 stops right through to +17 stops full range of 28 stops. Amazingly there is at least some detail in a range of 22 stops which proves the latitude of this film is pretty good to say the least.
The Raw Scan:
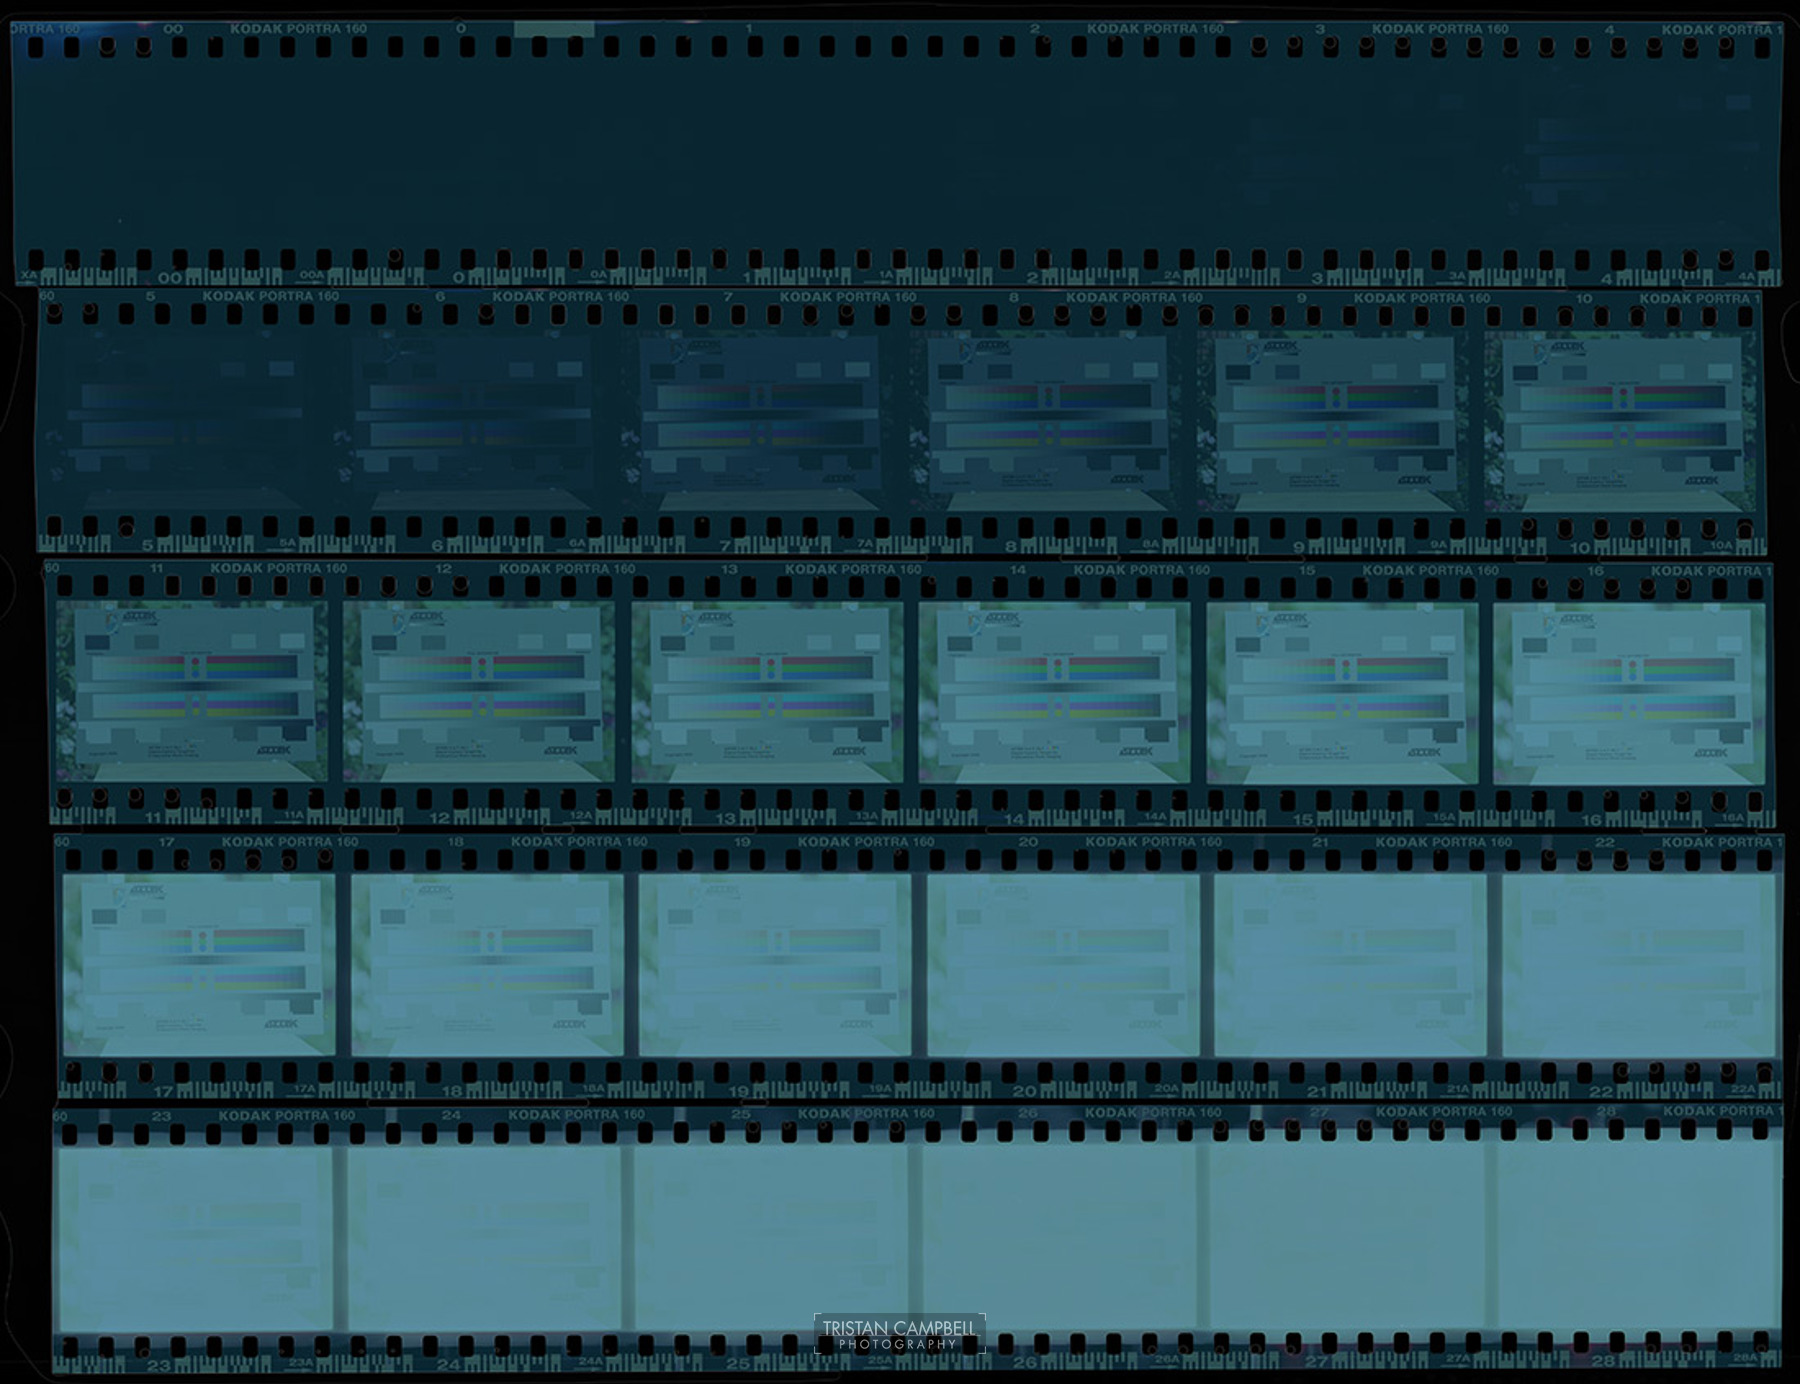
The orange cast of colour negative film gives an uncorrected scan a nasty cyan cast and the tonal range is extremely compressed which gives a very flat image.
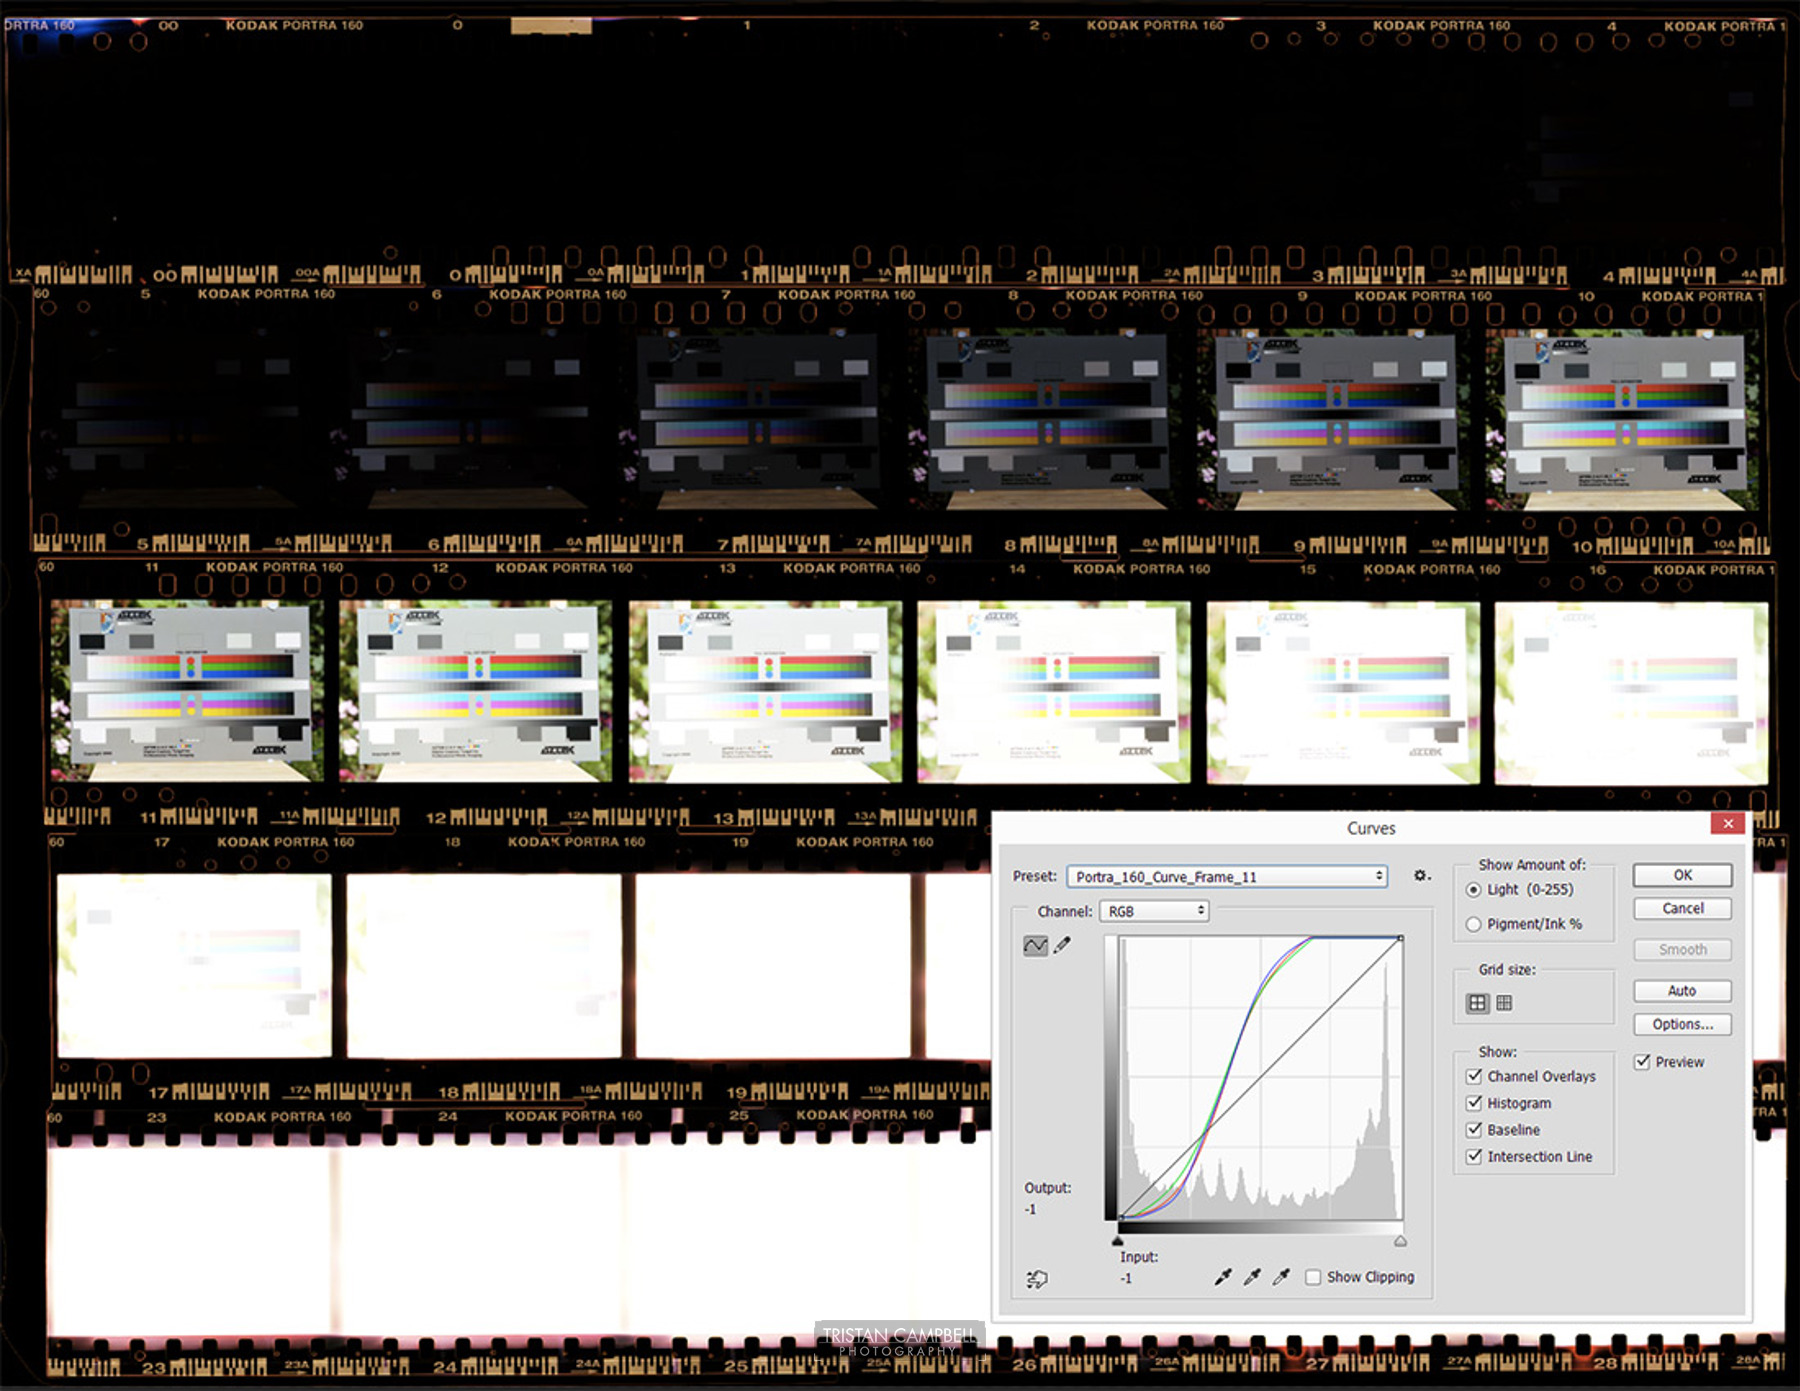
The first thing I do is go into curves and trim the extra space off the ends of each channel. I'll go into more detail of how to do this below. Doing this gives the following image. You can see how the film develops different colour casts depending on over and under exposure.

Let's say I'm scanning the negative that was correctly exposed. I use the colour target to create a curve that corrects the colour for this one frame. If I apply this to the whole scan you can see the colour is much better in the under and overexposed frames but they clip pretty quickly.
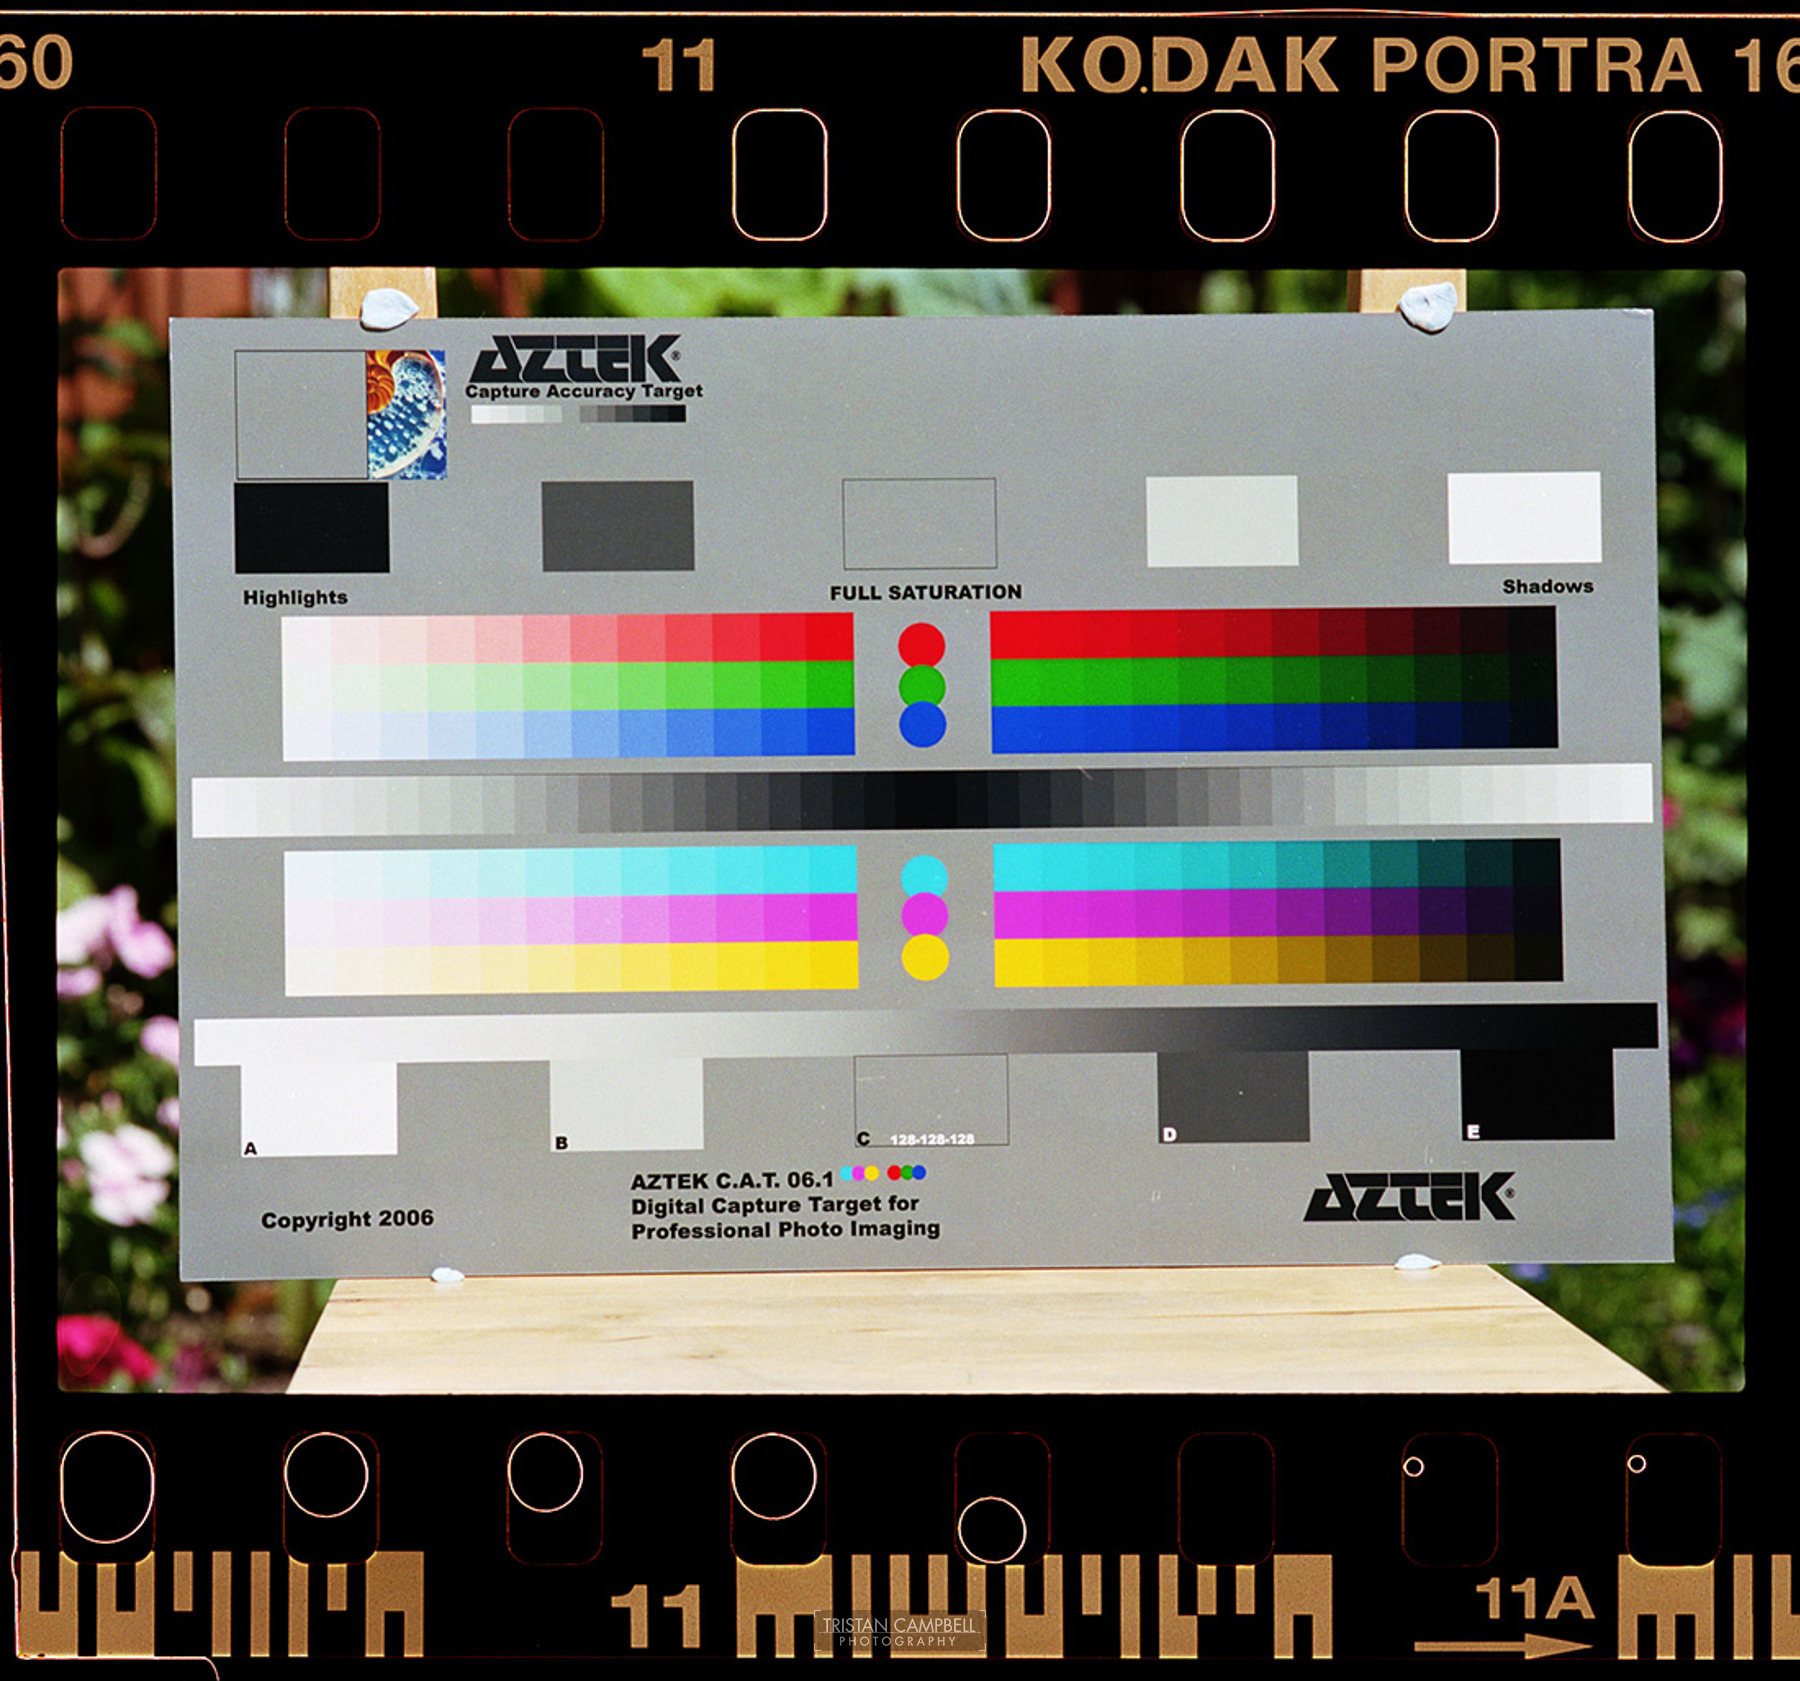
The full correctly exposed frame. Please note the colour correction is not exact, just approximate.
You can see from the curve I used to create this image that colour negatives require a pretty steep S curve. If you look at how colour negatives are printed on RA4 paper you'll find that the response curve of the paper is very similar.
Real World Scanning
It would be great if you could just create a single curve and apply it all your scans. Unfortunately this is just not possible unless you go to great lengths. Negatives each have their own characteristics, they handle under and over exposure differently, there are differences in development temperature, chemical exhaustion, condition of the film, the scanner used and all the scanner settings … there just so many variables.
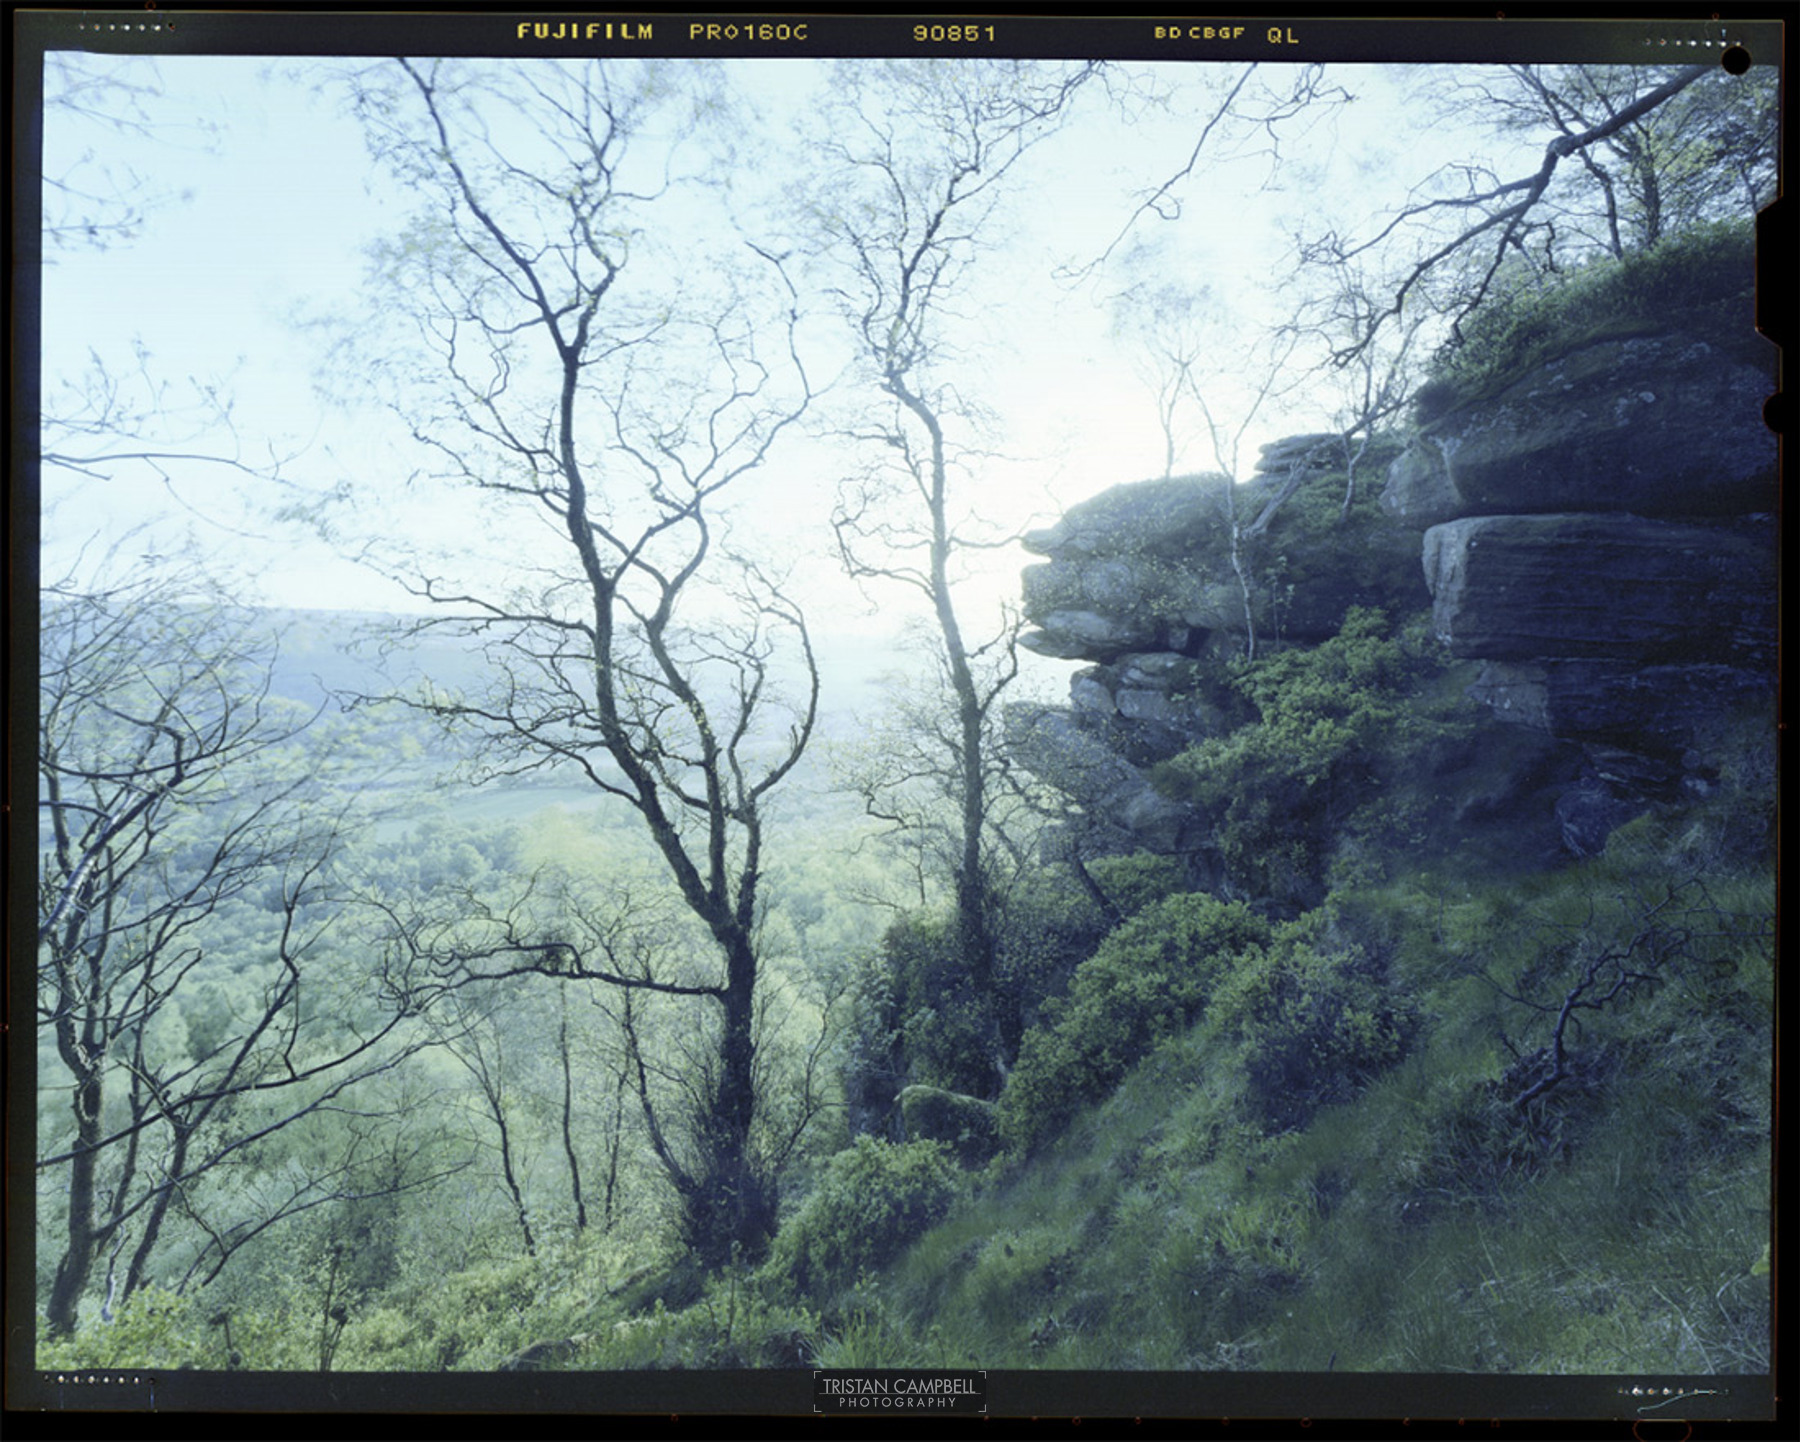
The key thing that we learned from the above example is that colour negatives need a steep S curve. So let's apply the above process to a negative without a colour target in the frame. Rather than use a drum scanner this example is going to use a good old Canon 9950f flatbed scanner.
I'm using VueScan as the scanning software and I'm going to scan the negative as a positive to be sure there is no attempt at converting the scan for me. Vuescan is excellent for this because it allows you to product a RAW scan direct from the scanner. If you don't have VueScan ensure all scanner settings are zeroed - no exposure correction - just a simple straight positive scan. Make sure you are scanning at 16 bits per channel.
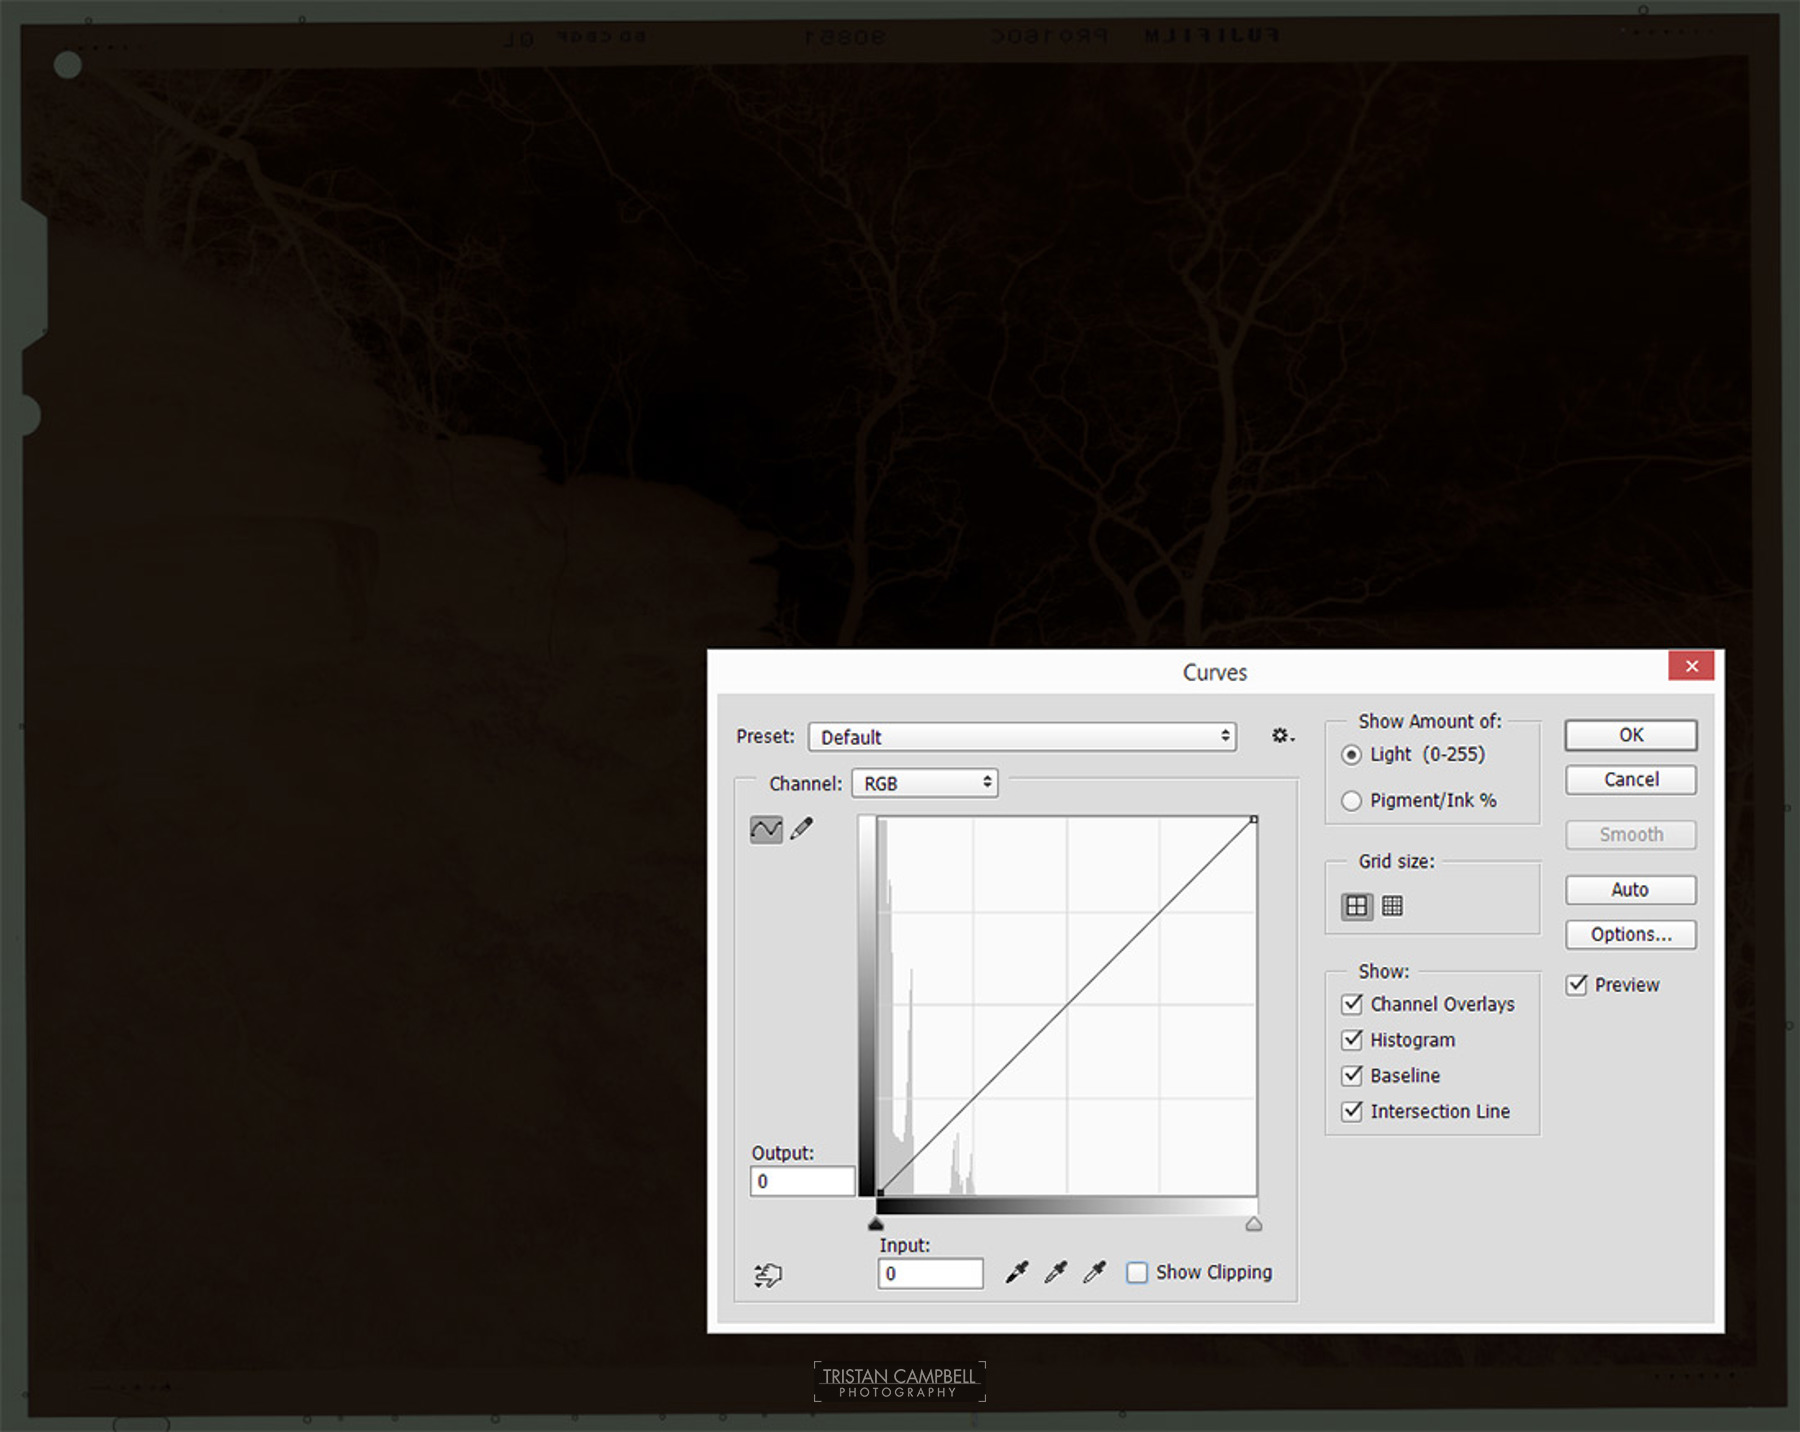
The raw scan direct from VueScan. As you can see the negative only uses a small compressed area of the image data on the left of the curve. The first thing we want to do is trim off all the empty data to the right of the histogram. To do this we go into curves and move the white point over to the left for each channel individually.
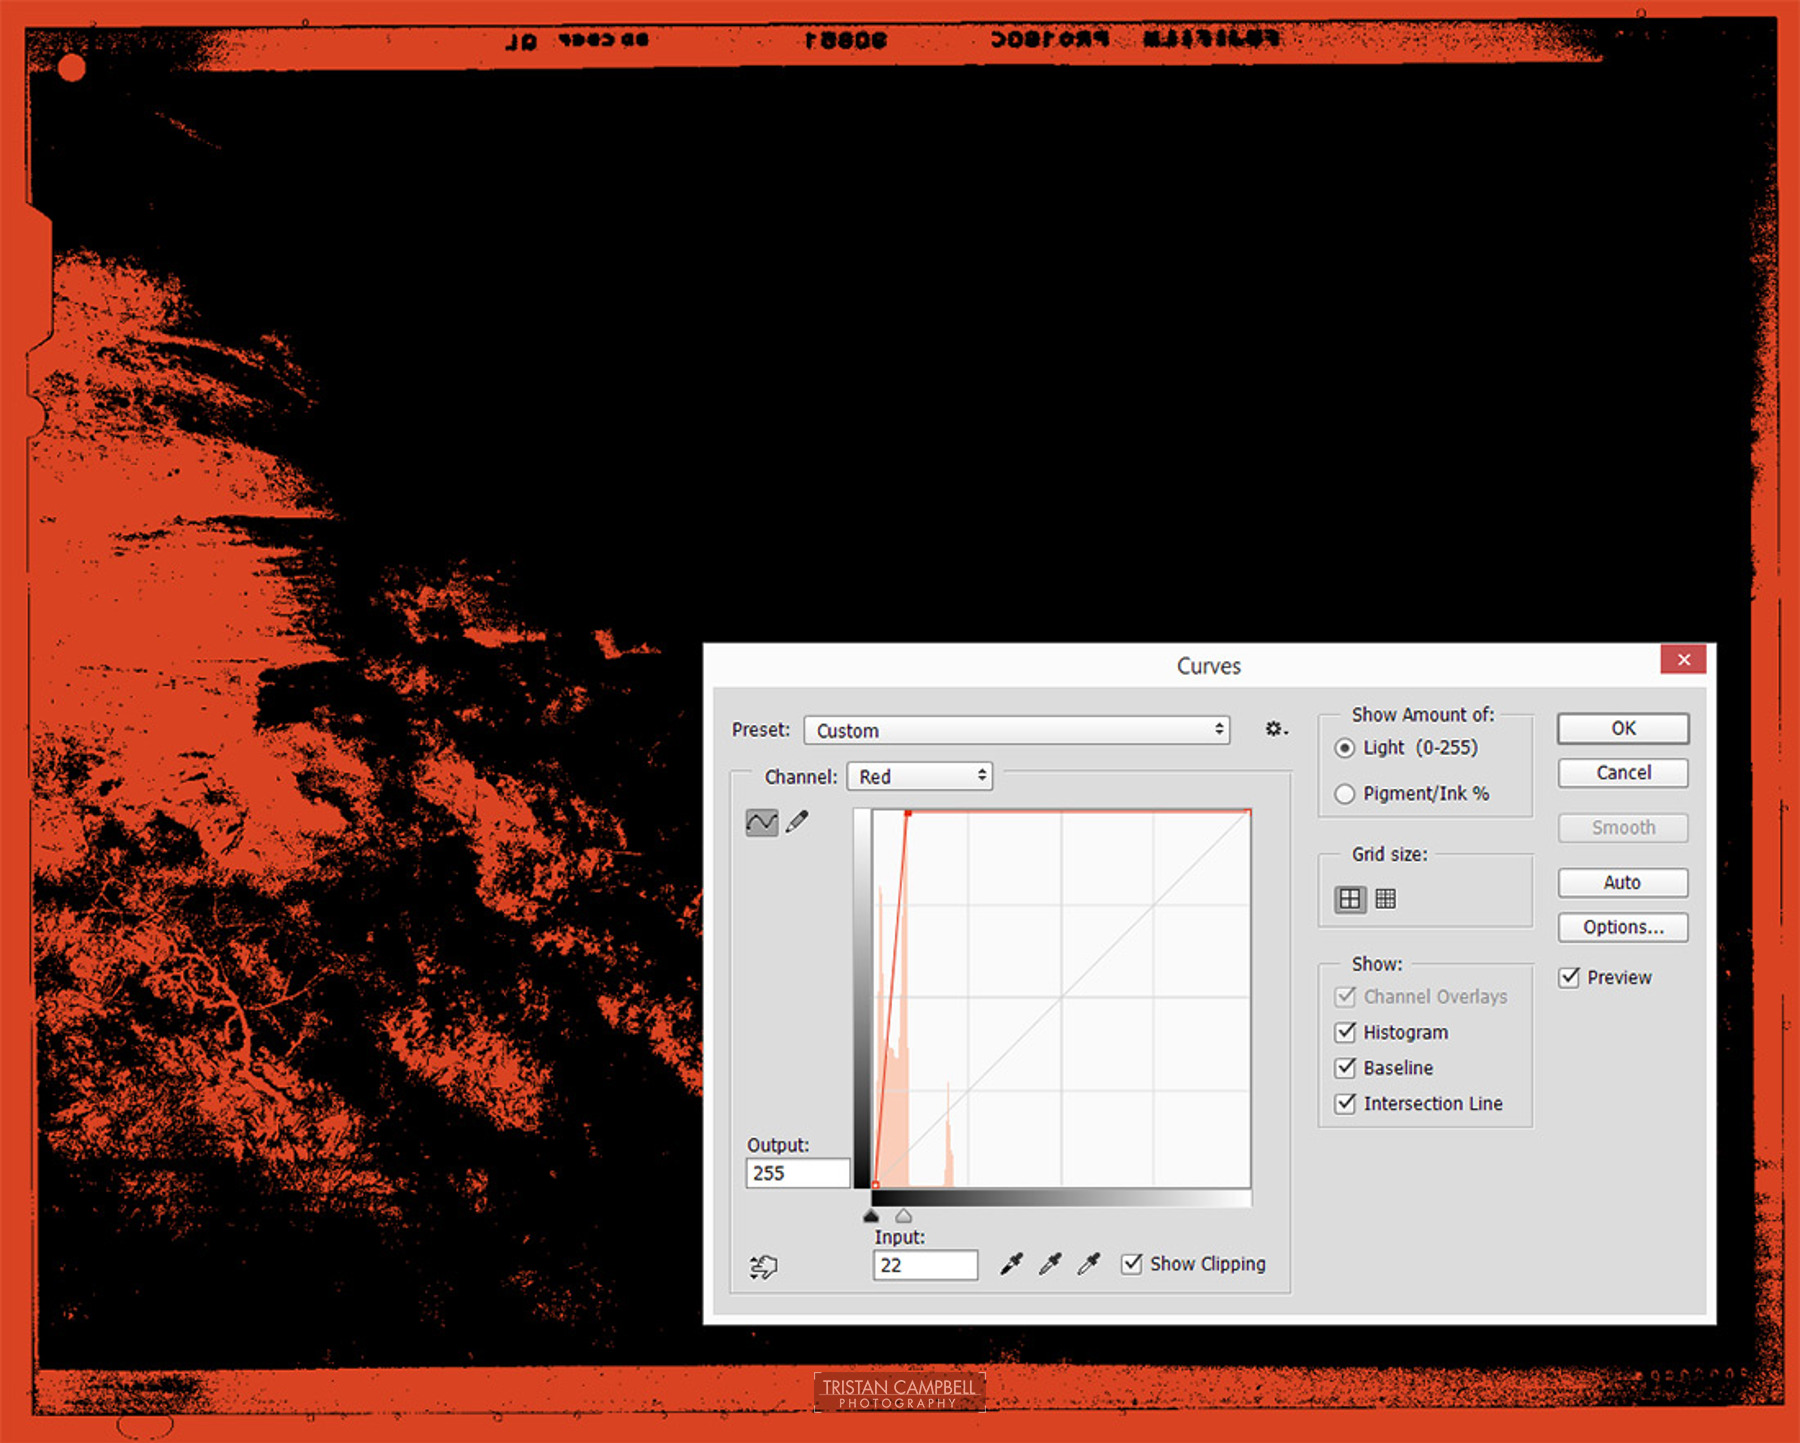
The image above illustrates moving the white point of the red channel to the left. You need to be careful not to clip your image data. The best way to do this is by clicking the 'show clipping' tick box. This will render the image in two colours, black and red when you are on the red channel, black and green for the green channel and blue and black for the blue channel. In this example the red is showing that data is being clipped so I need to move the white point further to the right.

Here I've backed off so that the only data being trimmed is beyond the edge of the film area. Do this for both the black white points of each channel. If you're using a ViewScan raw scan then you may want to just do the white points and click OK and then go back into curves - the data will now be spread out across a wider area and you can fine tune it better. If your histogram has lots of gaps in it them you've probably scanned in 8 bit - rescan in 16 bit.
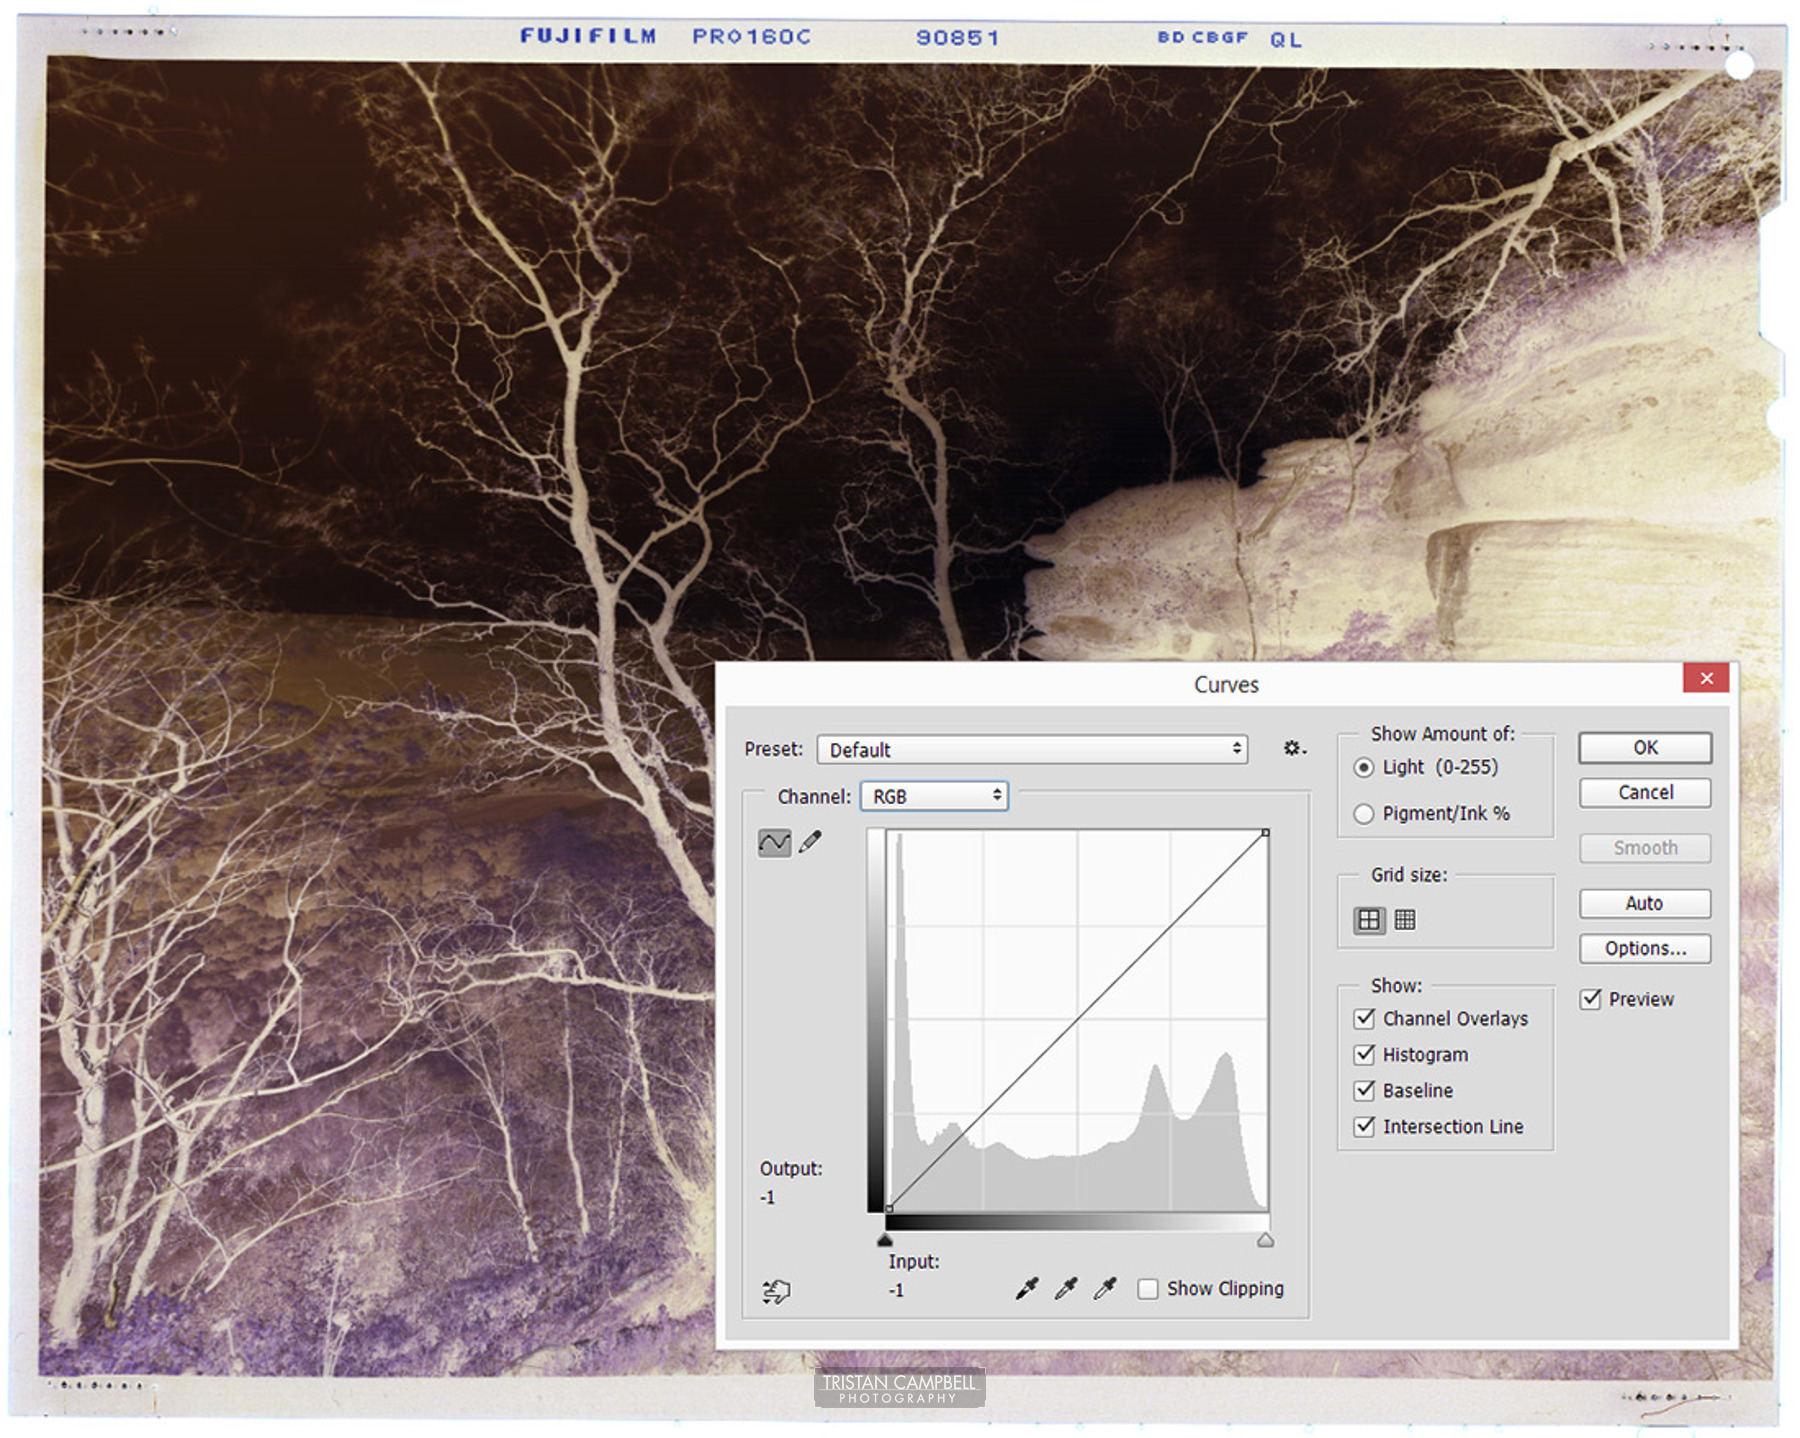
Once you've done this for each channel you should end up with an image looking like this. You can see the film base is reasonably neutral looking.
Now let's invert the image. You can see the image is starting to get there but still has a heavy cyan cast.
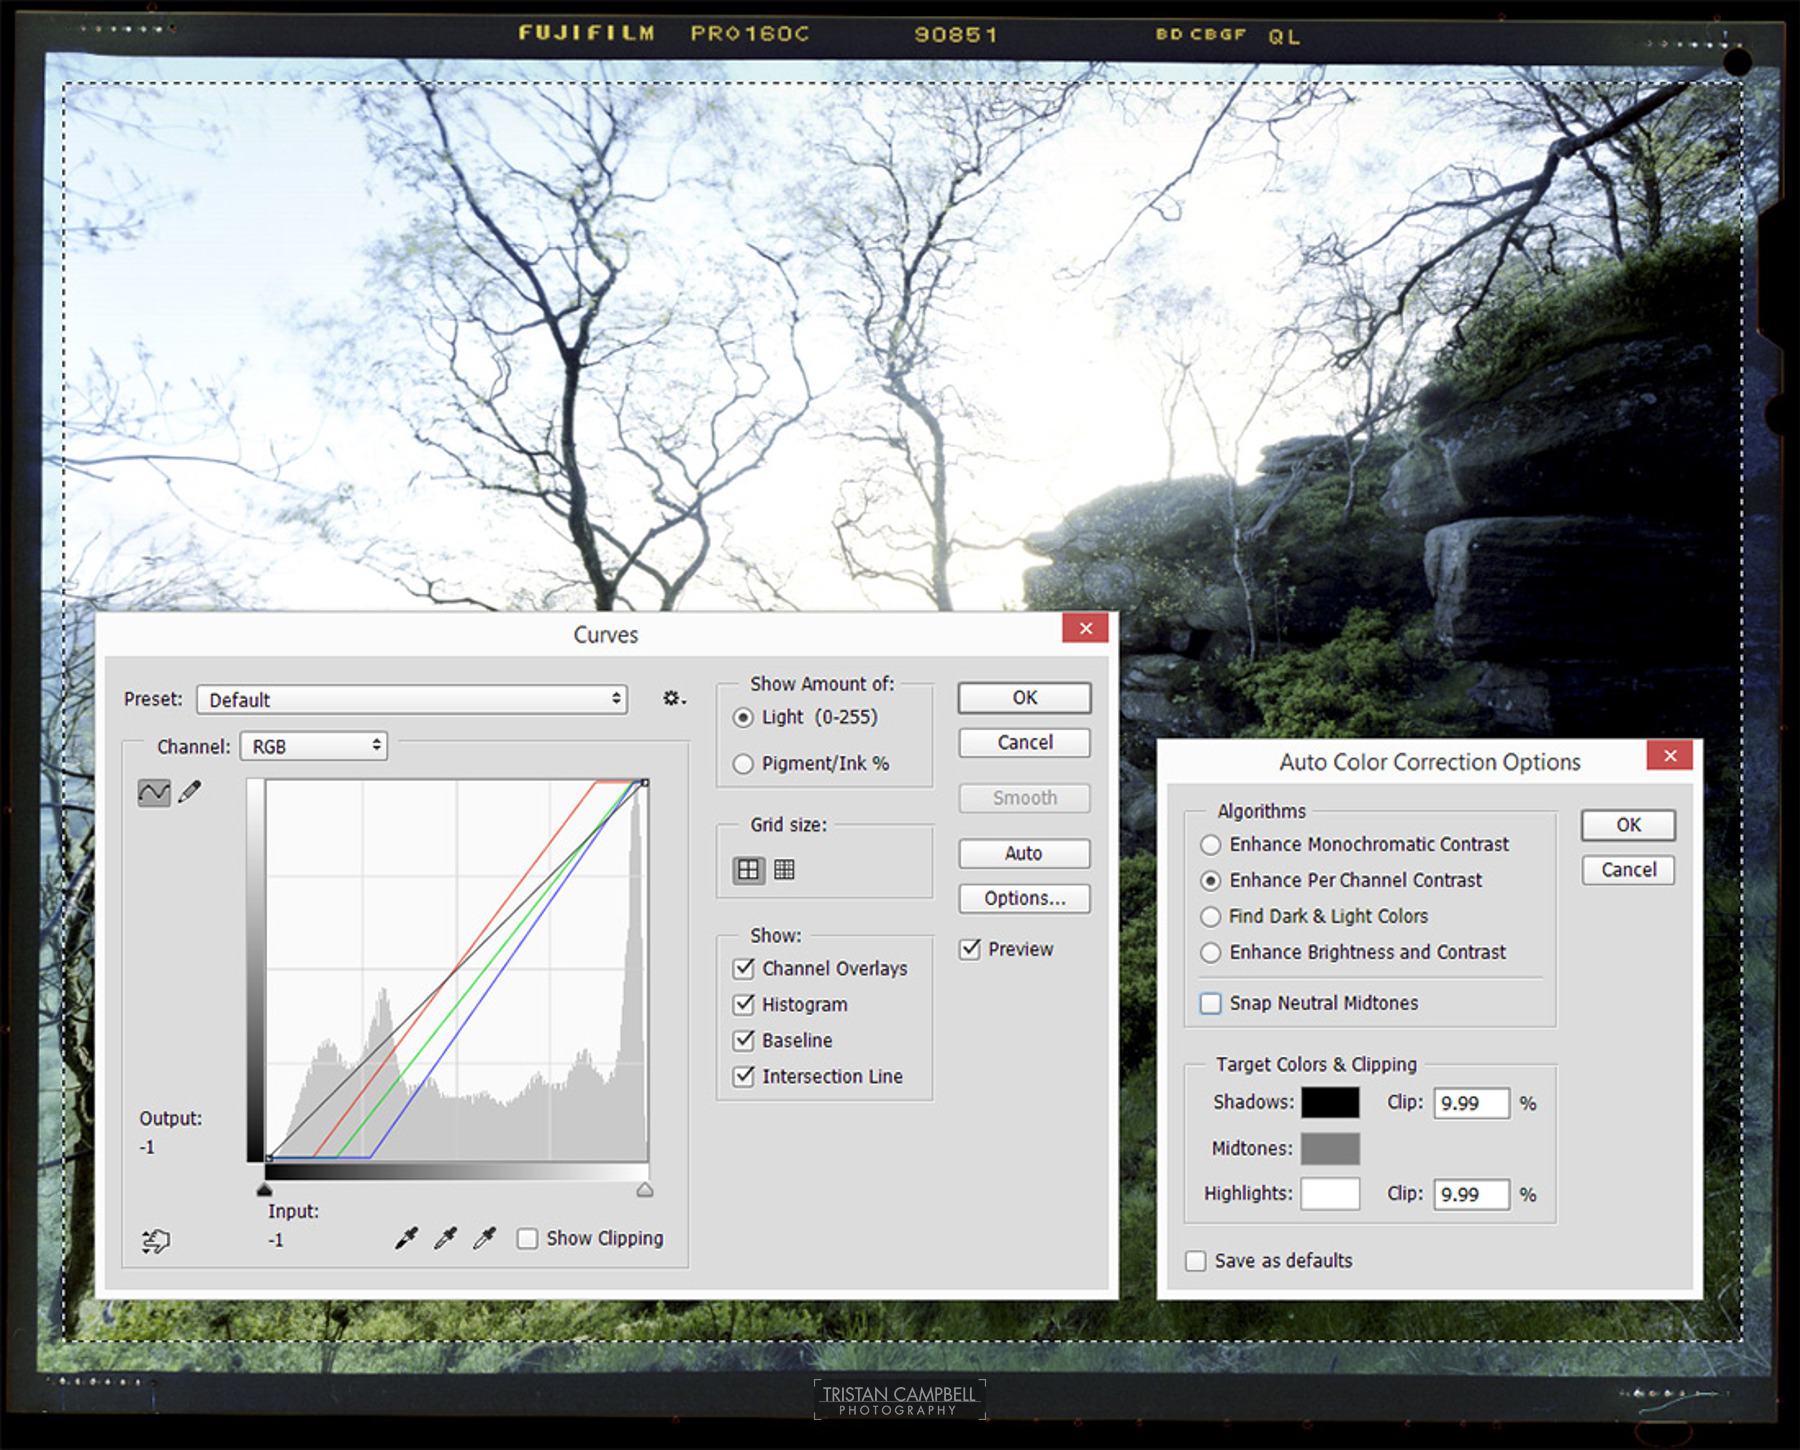
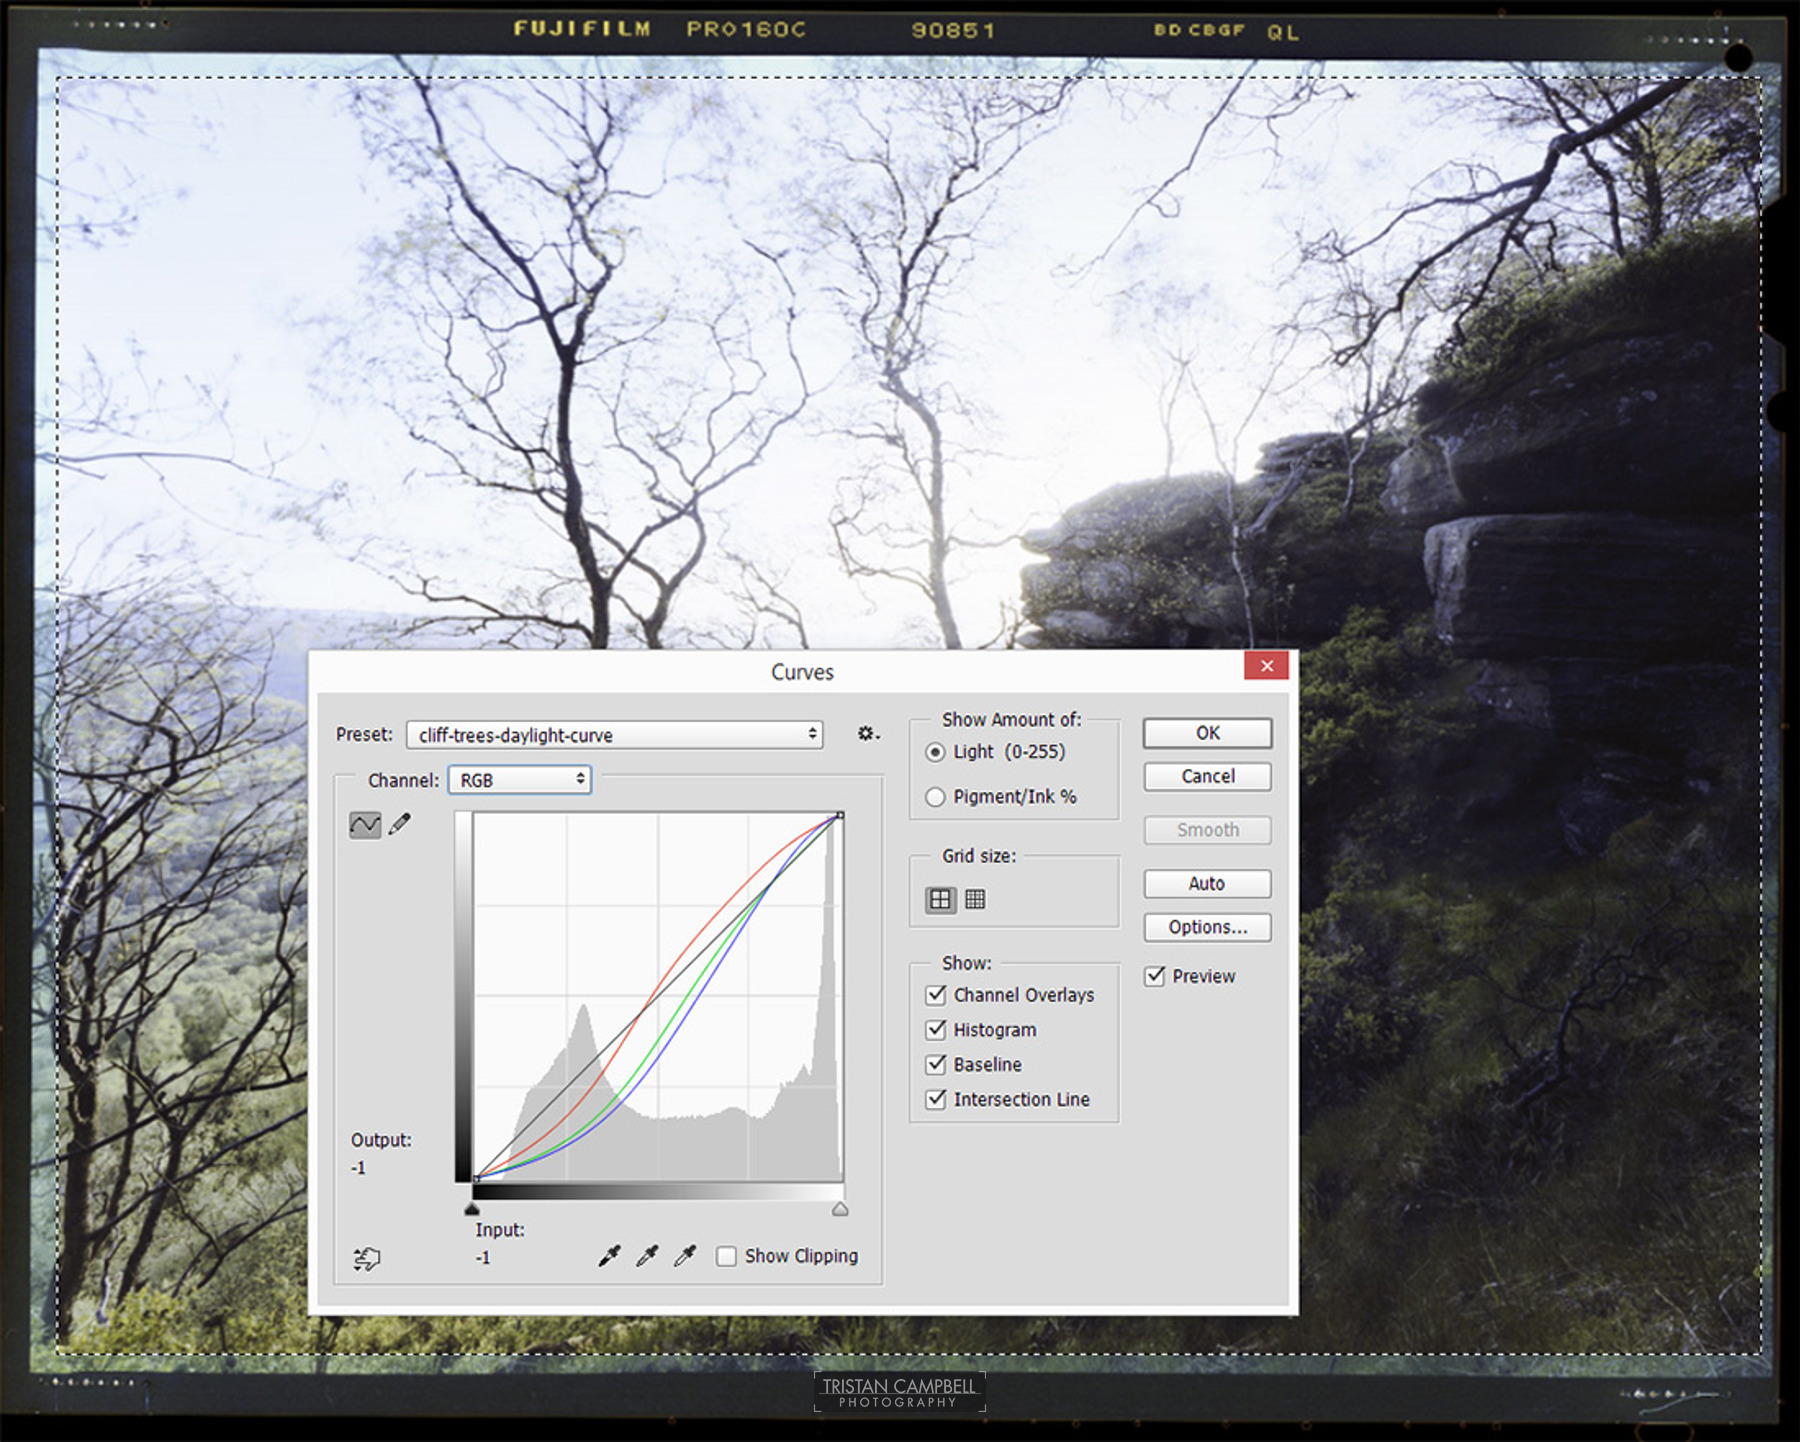
Because I have the edges of the film visible in this scan I'm going to make a selection which excludes the film edges for my final curves adjustment. So I'm going to save the curve and then go back and apply it to the whole image. Open curves, click the option button and set 9.99 for both the shadows and highlights clipping option. This will give us out initial steep curve which we can use as a basis for the colour correction. Do experiment with the options such as snap to neutral midtones as depending on your particular scan they can sometimes give you a slightly closer starting point.
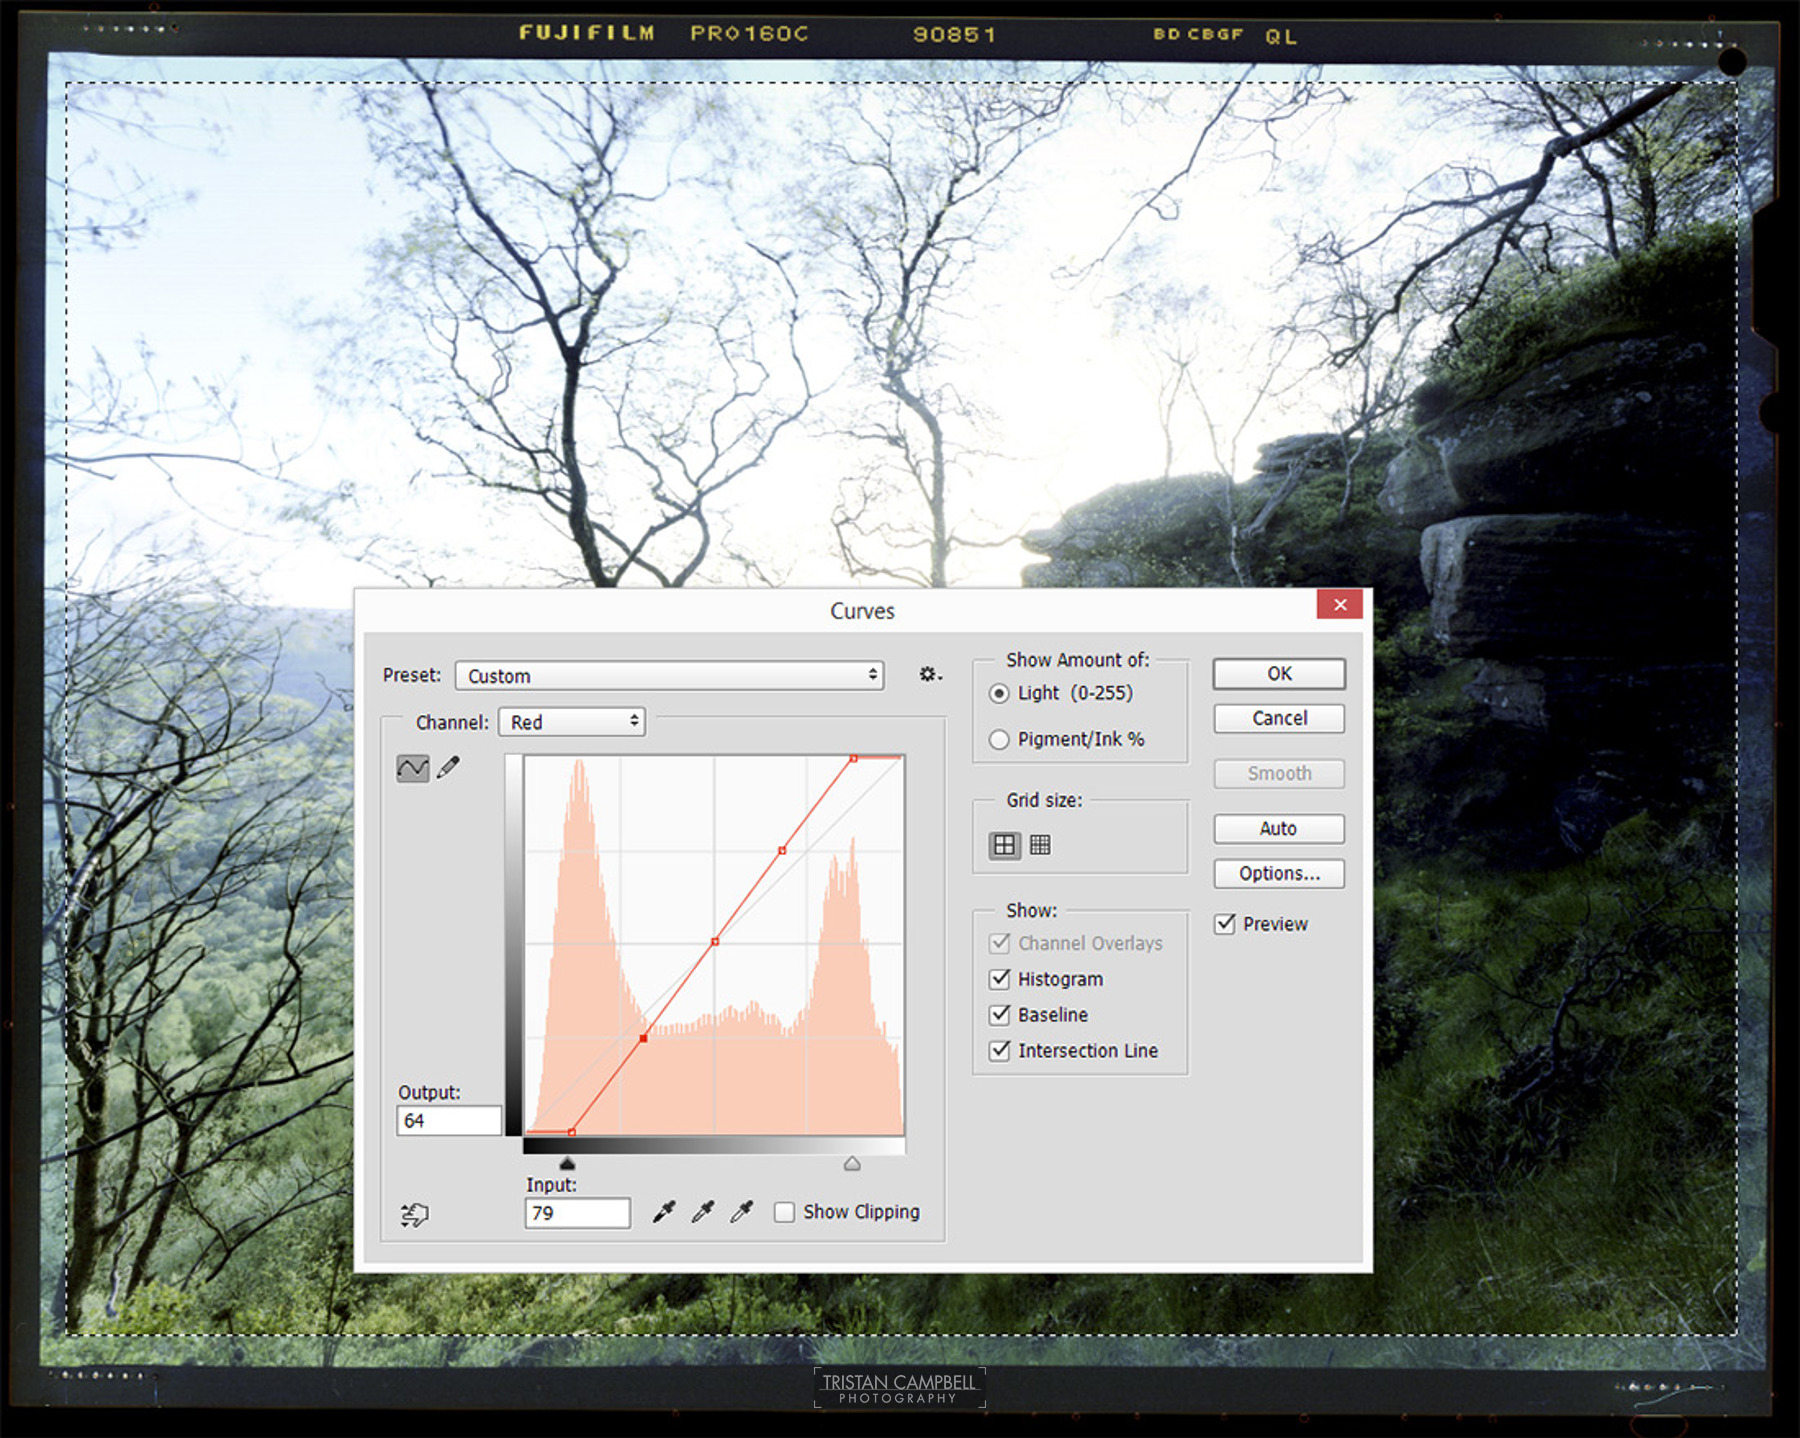
For each channel place three control points. You'll use these to keep the general S curve shape.
Move your black and white points back to the edges so you're not clipping any data. You'll see the S shaped curve appear. In this scan it's quite obvious there was still quite a strong cyan cast so I've moved the red channels midpoint over to the left to add more red to counter the cyan. Do this for each channel, paying close attention to the overall colour. You may need to keep switching channels to tweak them, add more control points if needed.
Once you've adjusted each channel and you're happy with the colour balance go back to the main curve than controls all three channels together. You can now do an overall adjustment to the tonal range. I'd like a bit more detail in the sky in this image.
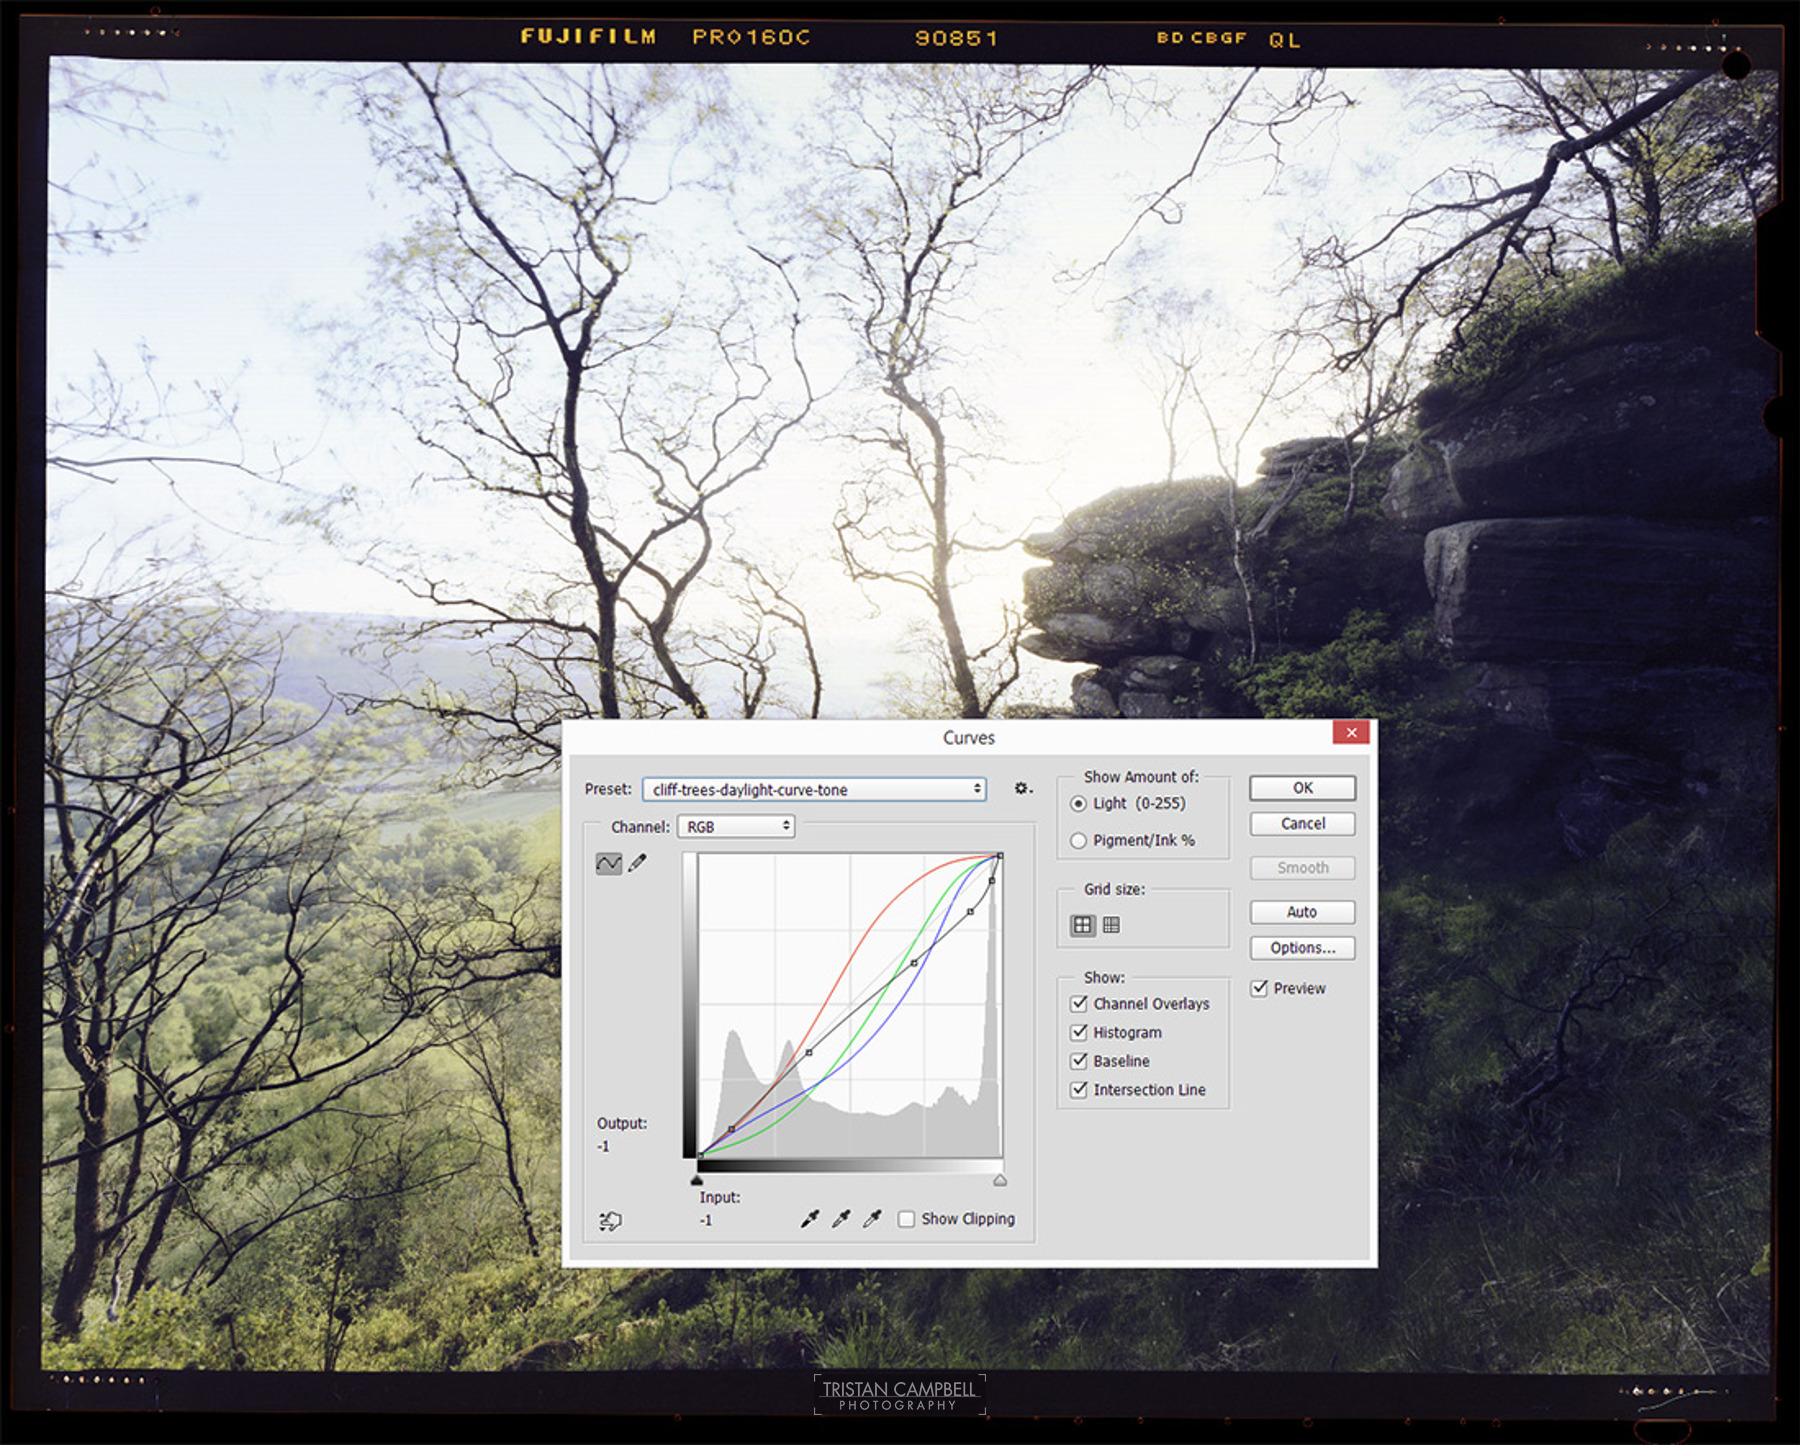
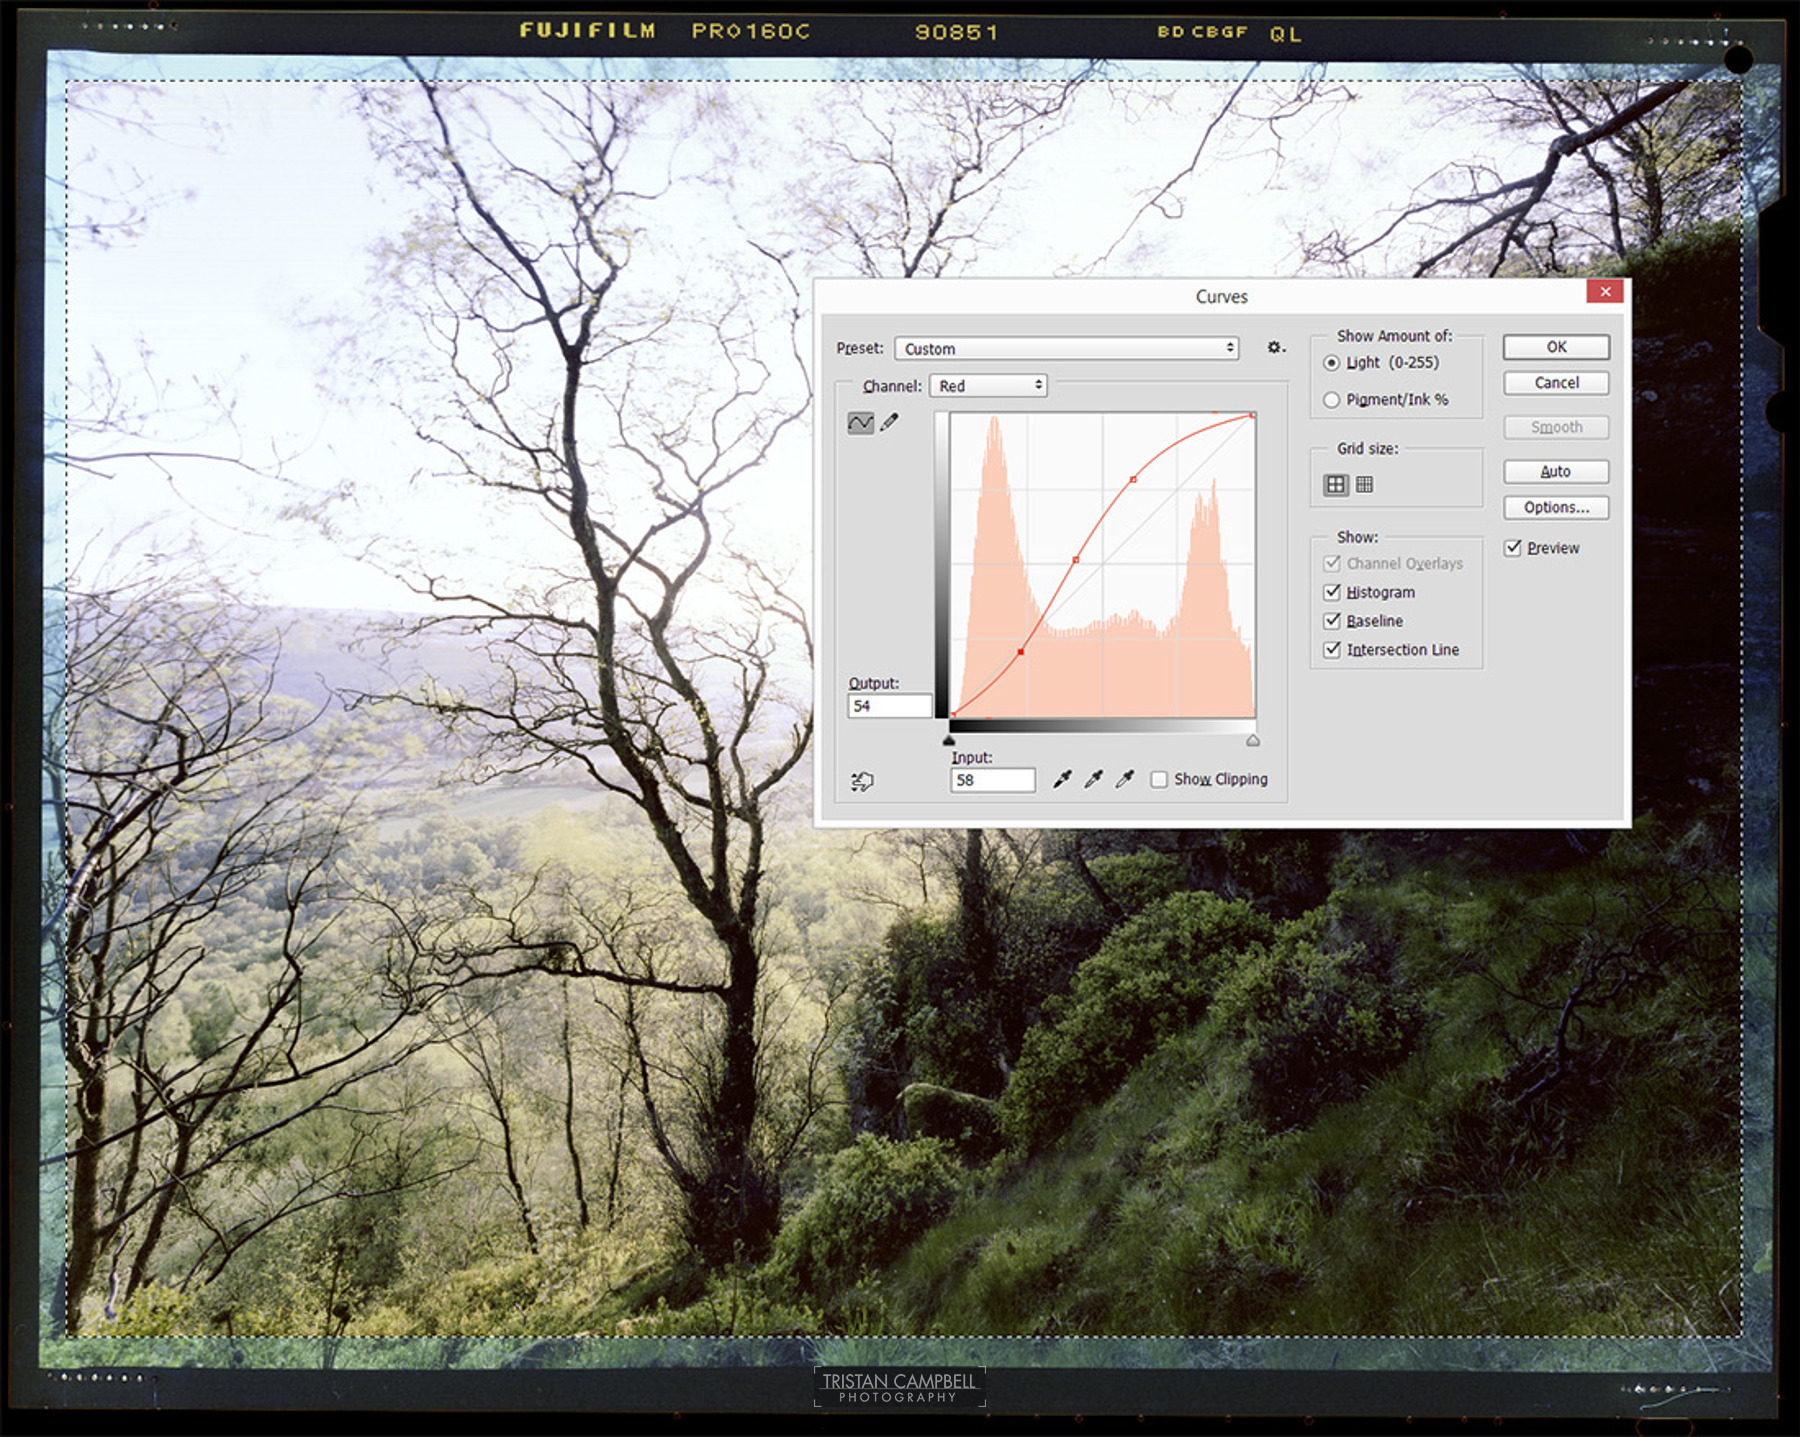
Here I've pulled down the curves in the highlights to darken the sky just a little. You can always go back into the individual channels to tweak the colour balance if your tone adjustment makes any casts in the highlights or shadows more prominent. If you have multiple images of the same exposure and development batch then saving the curve will give you a fast starting point for converting any more images.
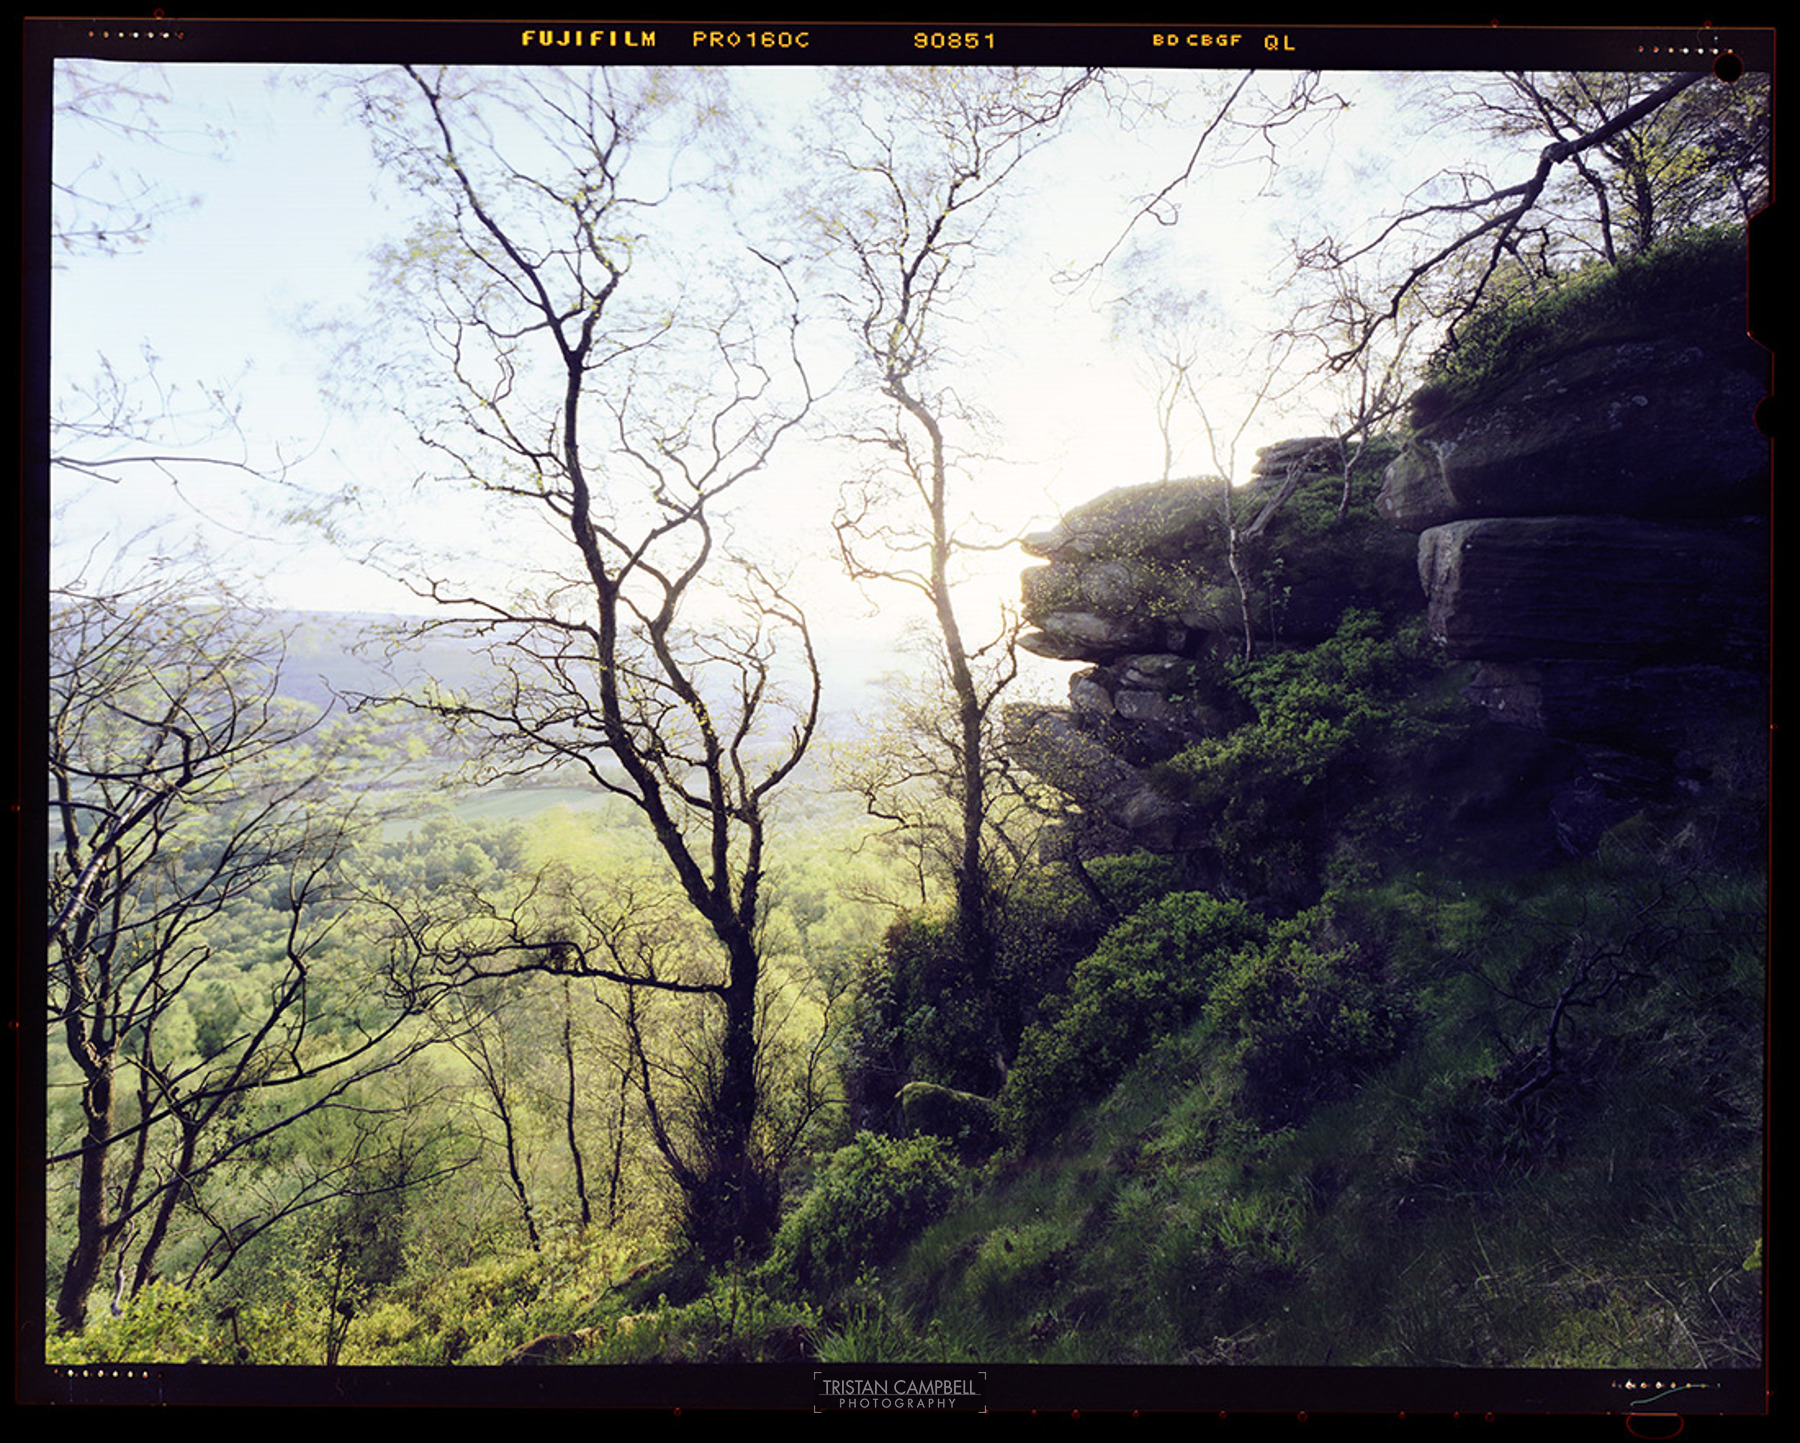
To complete the image I've just increased the saturation in the brightly backlit foliage.
Please note there are many ways to convert colour negatives. This is simply an example of how I approach the problem. Some images can be much harder than others to convert, this may be because of over or under exposure or issues relating to the development of the negative which has produced a difficult to remove colour cast.
General tips for producing easy to scan colour negatives.
Exposure
Although colour negatives are just about as flexible as you could every wish regarding over exposure and dynamic range an over exposed negative can be much harder to scan. This is especially true if you are scanning on a flatbed scanner which just doesn’t have the dynamic range to fully capture all of the subtle details in the highlights. So although colour negs don’t often need graduated neutral density filters to hold the highlights it can be a good idea to use them to hold those skies back so you can get better image quality when scanning.
Equally important is not to under exposure your shadows. Underexposing your negs leads to no detail in the shadows. I typically expose for the shadows which I want detail in by place them at around 2 stops underexposed. Then filter for the highlights if you are extreme (unless you know you scanner is ok with them).
Development
If you're developing your negs yourself then make sure you keep your chemicals fresh and don't over develop. Again you want to keep those highlights under control so they are easier to scan.
Wet mount your negatives
Wet mounting your negatives sounds both messy and potentially dangerous for the negative. It however actually very simple and can be most effective at getting rid of marks on your negs and ensuring you have less spotting to do.
For drum scanning I always wet mount the negatives but after having a lot of hardware problems with my drum scanner I decided to try to get the best out of my flatbed scanner. Ideally you want something like a better scanning holder for wet mounting on a flatbed.
I found that my CanoScan 9950f has excellent focus when you simply place the neg on the glass of the scanner. This is not true for all flatbeds - my CanoScan 9000f is way out focus when just places on the glass. So for my 9950f I simply wet mount direct to the scanner glass and get excellent results (for a flatbed). Obviously you need to be careful not to get any liquid inside the scanner.
Materials required for wet mounting:
Optical Mylar
Kami 2001
Kami Tape
Better Scanning Holder or equivalent to gain best focus
If you're scanner happens to have good focus on the glass of the flatbed then you can mount directly to the scanners glass. Just make sure the Kami cannot enter the scanner at the edges. I simply use Kami Tape to seal the edges of the scanner. This is easily removable and is designed to work with kami fluid.
All of the above kami products and optical mylar are currently obtainable from Haynes Graphic Arts in the UK and Aztek in the US. The BetterScanning holder can be purchased on the BetterScanning website.
Add a comment
More Reviews
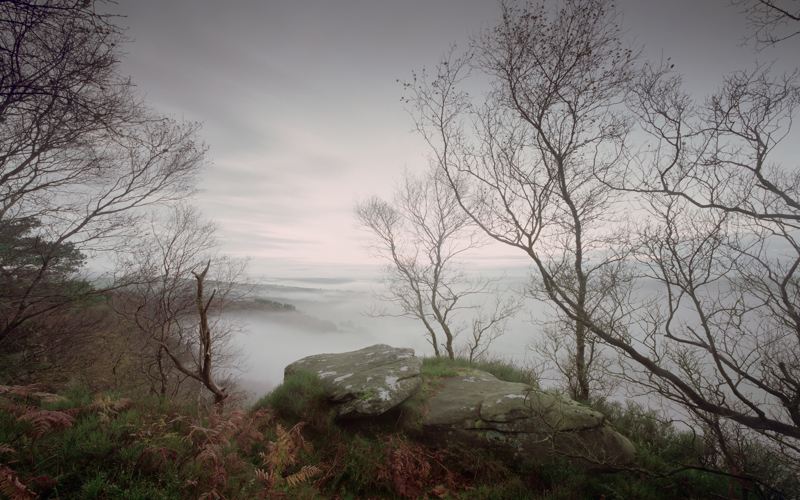
No matter how familiar the place might seem, it always holds the potential to reveal something new, something unexpected, something magical - if only for a brief moment before it's gone forever.
View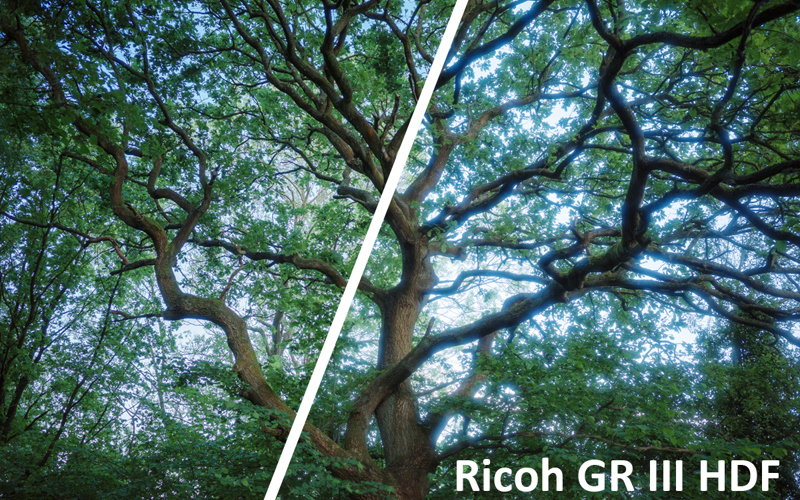
The Ricoh GR III HDF is tiny and genuinely pocketable. Its APS-C sensor and remarkably sharp prime lens deliver DSLR-like quality in a highly compact package.
View
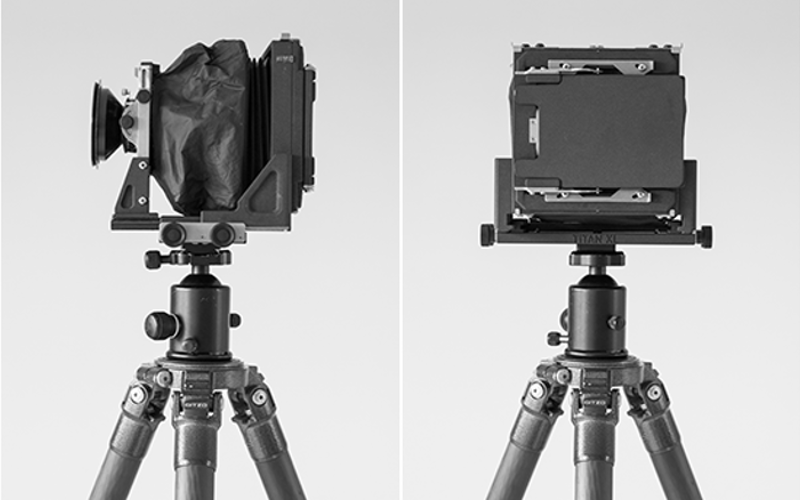
A robust large format view camera designed specifically for ultra wide angle lenses.
View
Comments